So when I finally decided on which fabric I was going to use for this sewalong, I got started on cutting it out right away. I was naughty and didn't make a muslin, as my fabric was so cheap, I wasn't too worried (and couldn't have made a muslin out of anything cheaper) Beccie highly recommends making a muslin in her first capelet sewalong post
While making her muslin, Beccie added front darts to add more waist definition to the front of the capelet. I have decided to do the same, so after sewing the original pattern darts, I pinned the shoulder and side seams and tried it on. I then put it on my mannequin and pinned in the extra darts.
I then took it off my mannequin, marked the darts with chalk, and added the dart to the pattern piece for future use
Part 2 of the sewalong covers making a pattern for the lining for the capelet. I'm leaving mine unlined, so I'm omitting this step.
 |
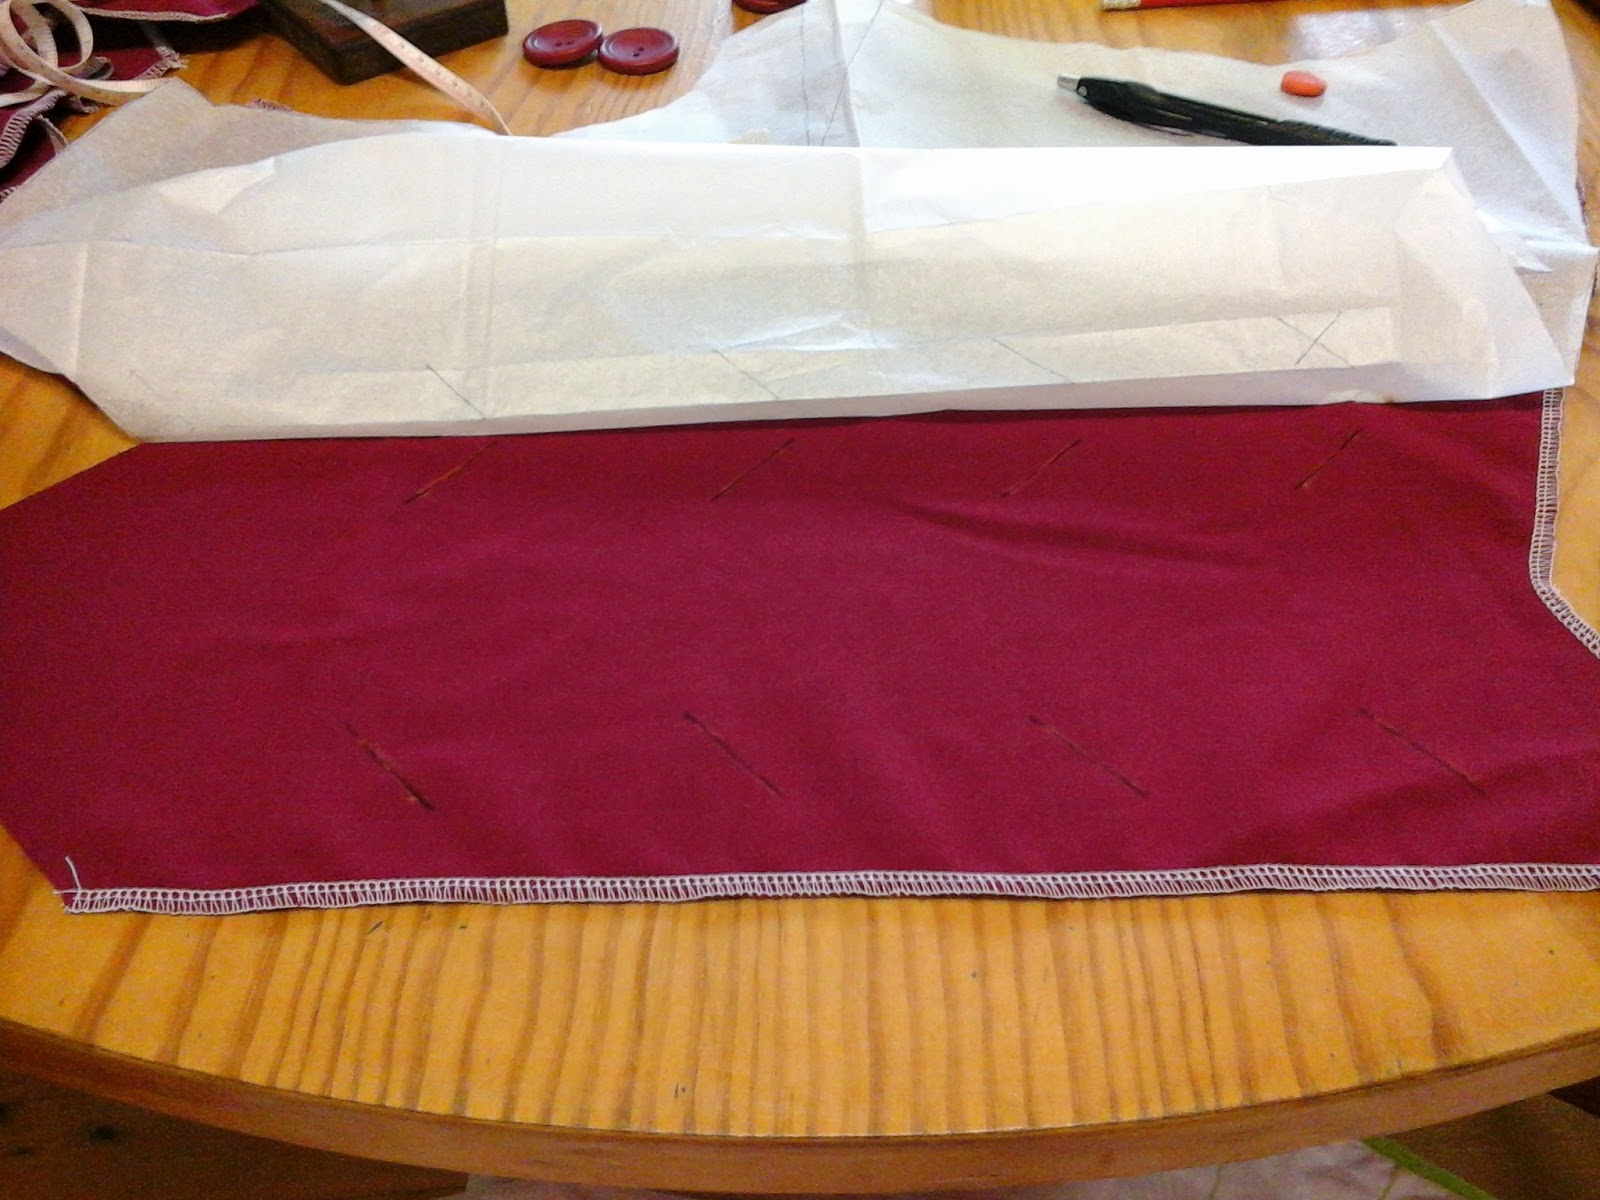
| All pinned up |
 |
| Mabel is Supervising |
While making her muslin, Beccie added front darts to add more waist definition to the front of the capelet. I have decided to do the same, so after sewing the original pattern darts, I pinned the shoulder and side seams and tried it on. I then put it on my mannequin and pinned in the extra darts.
 |
| Adding Darts to the bottom fronts |
 |
| Added Dart |
 |
| Adding the dart to the pattern |
Part 2 of the sewalong covers making a pattern for the lining for the capelet. I'm leaving mine unlined, so I'm omitting this step.
Part 3 covers Bound Button holes. I've never done a bound button hole before. I hate doing machine button holes, because they always end up messy, so I was all for giving bound button holes a go. Firstly, I marked the locations of the button holes, on the right front of the bodice.
Then I cut out all the 3x3 squares needed, and pinned them in line with the markings on the bodice piece.
 |
| Marking the button holes |
 |
| Button hole markings and Buttons |

Sewed around the marked rectangles

Snipped the inside of the rectangles with my super super sharp snips. I worry I'm going to accidentally cut the wrong thing when I use these, they are just SO SHARP! But I'm glad to report we had no mishaps.

Then I pulled the button hole linings through the holes that I just cut

Then pressed them flat, or as close to flat as I could

Then the lining fabric is folded to create the lips of the bound button holes

Which I pinned

and attempted to sew around the bound button holes by sewing in the ditch.

By this point, I feel the need to say that these bound button holes are not as easy as they look. I thought they would come together easily and neatly, but mine are no where near as neat as I would have liked them. Thankfully, when the buttons are done up, you wont be able to see much of the button holes. I guess they didn't turn out too bad for my first attempt.
At this point I put my Capelet aside, as I realised I hadn't made a new dress to wear to the Kurri Kurri Nostalgia Festival. If you haven't heard about it, it is a 1950's weekend long festival filled with cars, clothes, music, dancing and shopping! I usually make a new outfit or 2 for it, and a few years ago I was lucky enough to win the best dressed parade with a reproduction of a Marilyn Monroe outfit from Gentlemen prefer Blondes.
I recently purchased this 1956 Australian Home Journal for a bargain price, and knew I just had to make that lovely pink dress in the middle

So I graded up the pattern (as usual) but this time I actually did a mock up of the front bodice out of scraps before cutting out my good fabric. I know, right? I never do that!

Though I needn't have worried, it worked fine. So then I cut out all the pieces from a lovely pink rose cotton that I purchased from Lincraft about 3 years ago (See people, this is why you need a good stash of fabrics)


Now I am up to pleating. And I remembered I hate pleating, because it takes sooooo long. Oh well, I guess I have to keep going now!

Anyone here coming to Kurri Kurri Nostalgia Festival? If you are, come find me in the Elsie George Boutique stall and say hi! Or is anyone else reading my blog working on their Capelet for the sew-along?
Dixie
I'm wrestling with bound buttonholes myself, on a 1954 suit jacket pattern. Of course, after I did them basically the way you've done yours, I read in the _Sewtionary_ book a different way to do them, which I will try next time I need to do bound buttonholes.
ReplyDeleteHi Jen,
DeleteI didn't even realise there was a different way to do them, hahaha, I usually just avoid buttonholes at all costs! Good Luck with your 1954 Suit Jacket. I am hoping to make myself a vintage inspired suit myself this coming winter :)