Showing posts with label Spotlight Stores. Show all posts

Tuesday, 14 May 2019

Talia Tank from Rebecca Page

So I am running a little late on this one, as the pattern was released a few days ago, however, between car troubles, several trips to the emergency department, an overnight stay at the hospital as well as a university exam, I just didn't have the time to be doing any blogging

Long time readers will know I have been lucky enough to test a few Rebecca Page patterns in the past (as well as Mummykins and me, before the name change) but here is a brand new one!

Introducing the Talia Tank from Rebecca Page!

I had been searching for a quick sew for a comfy singlet top for a while.Although I sport a dress most days, some times a gal just wants to throw on jeans and a top and go casual. This pattern is absolutely perfect for that. It has flattering bust gathers and is loose fitting so doesn't cling to the tummy rolls. Best of all, if you piece together the strap piece, you can squeeze a top out of only 1m of fabric. So far I have struggled finding decently priced knit fabrics, so when I do buy them, I only get 1 or 2 meters. In fact, mere days before this test, I had been to spotlight and purchased a few knit fabrics from the sale table, so I was well prepared to make this top.

I cut the pieces out one night after my son went to bed, and then sewed it together the next night, and finished it, while also watching Netflix and eating dinner, in less than 2 hours total.

For this version I used 1m of a blue bow printed organic cotton purchased from Spotlight, for about $4 p/m. You can buy the same fabric from Etsy. I have made a 3xl, graded to 5xl at the hips (for my post natal 49 inch bust figure)


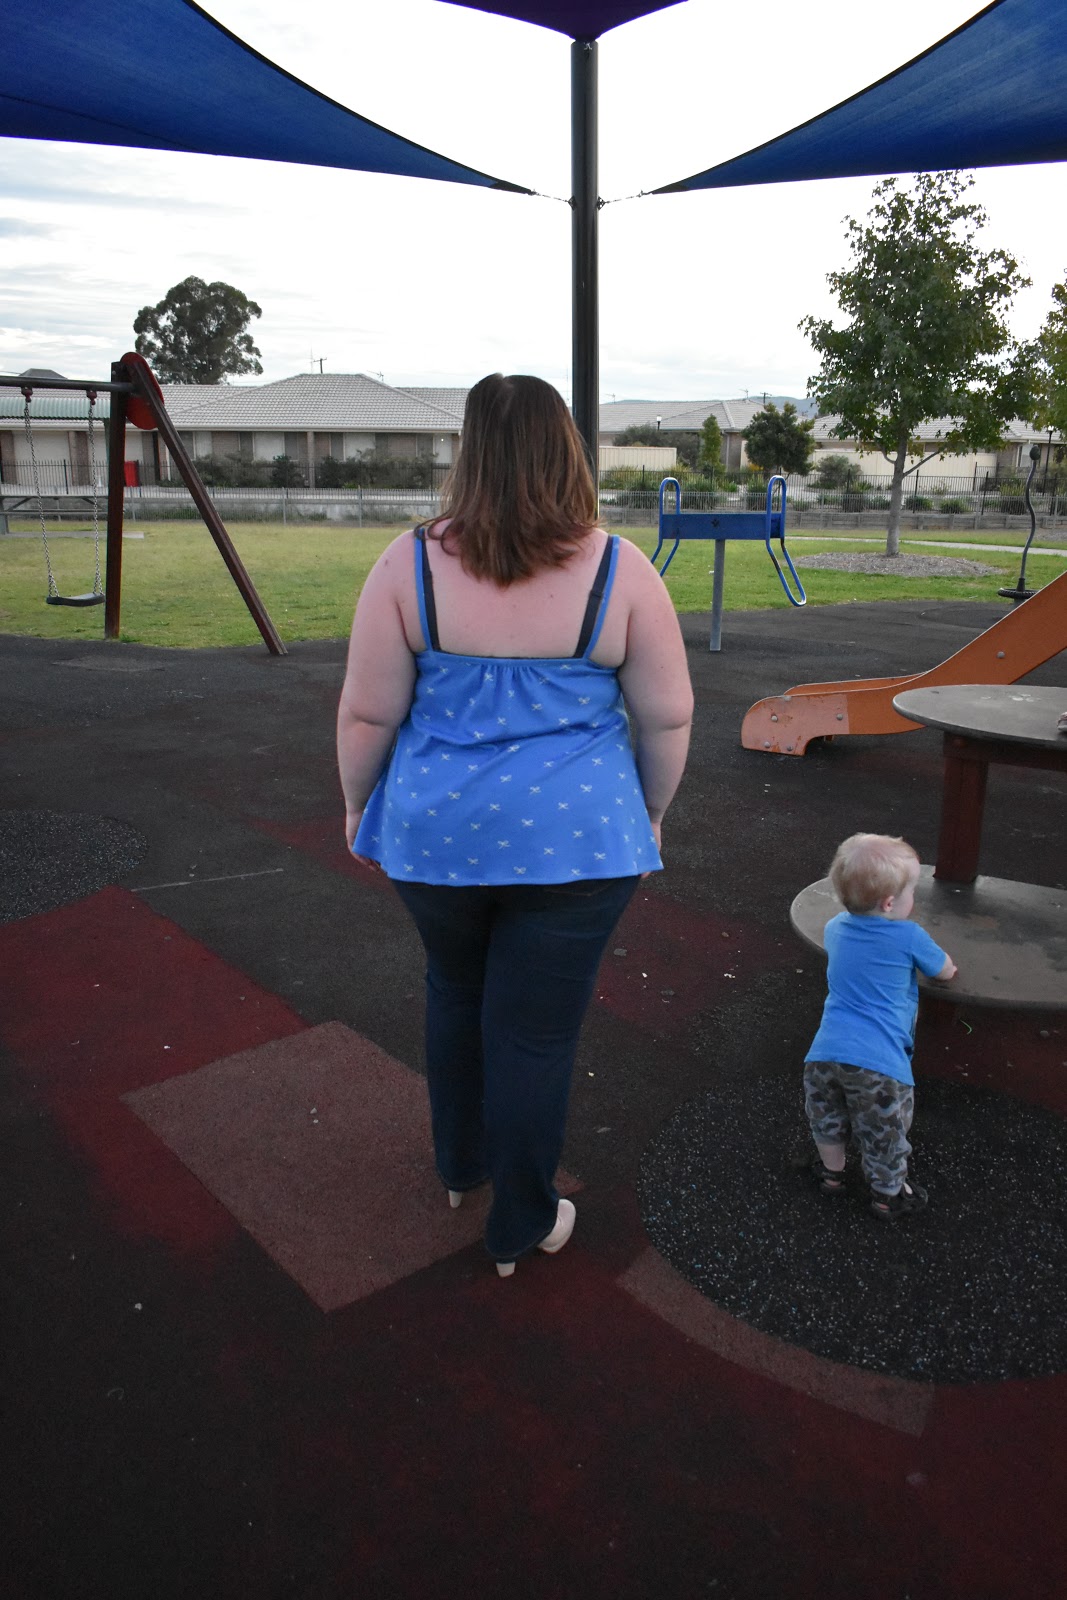


I have already worn the Talia to University, the day I managed to blow 2 tyres on the car, and was thankful not to be wearing a dress (like I usually am) while trying to change them.

I have also sewn a second version in a colourful dotted knit, as well as started on a dress length version in a floral mustard coloured woven rayon, which I am hoping turns out OK. Pretty sure this pattern is going to become a staple in my sewing room

Dixie

Wednesday, 5 December 2018

Hobby horse pattern and tutorial

On a recent VIP night at my local Spotlight store, we created very cute Christmas Hobby Horses, so I thought I would share the project here, as an easy to make gift for the little ones in your life this Christmas.

Here is a photo from the event. I am wearing a dress made a few years ago from New Look 6457, view D, in some adorable carolling kitties fabric from Spotlight. Bub is wearing Kwik Sew 3730, view C, in a current season Australian Fauna Christmas fabric from Spotlight (there will be matching outfits for Hubby and I in the same fabric, as well as a blog post about them soon)


This template has been provided by one of the wonderful staff members who work at my local Spotlight, through her facebook page. Print the image to fill an A4 page and you should get the correct size.


Materials:
Approx 40cm of fabric (quilting cotton will do)
Safety eyes
Feather boa or trim
Polyfill stuffing
75cm dowel or curtain rod
Satin ribbon or trim
Sewing machine
Needle and thread
Hot glue gun and glue
Scissors

Instructions: 
1. Cut out the paper pattern, then trace around it onto your fabric, giving you a sewing line to follow. Fold your fabric in half so you get mirror images, and cut roughly 1cm/1/2" outside that sewing line, you will need 2 sides for the head and 4 ear pieces (2 for each ear).

2. With right sides together, machine sew along the sewing lines around the head and both ears, making sure to leave the bottoms open. Clip any curves, turn right side out and press. Fold the raw edges of the bottom of the ears inside themselves and press.

3. Fold the ears in half length ways, either hand sew or hot glue in place on the head, using pattern to help with placement. You can also attach the eyes at this stage, by glue or sewing, or you can firmly stuff the head with polyfill, then sew on the eyes, sewing between them through the head and pulling the thread so that it sinks the eyes slightly into the head.

4. Once the head is firmly stuffed, insert the end of the dowel into the neck and gather in the bottom edge of the fabric using a running stitch. Applying some hot glue around the dowel before inserting helps to create a ridge so that the dowel cannot be pulled out. A bit more hot glue to hold the fabric, then cover the gathered raw edge with some ribbon.

5. Glue or hand sew the feather boa or trim along the top and back of the neck for the mane. Wrap a piece of ribbon around the nose, up around the top of the head just behind the ears and then around the back of the head with plenty of slack to make the reigns, secure with glue or hand sewing under the chin.

The finished product should look a  bit like this!


Apologies for the lack of step by step photos, as I decided to type this up a few weeks after the event when I made mine. With University over for another year, I am hoping to get a few more blog posts up over the next few months, as well as finally getting more sewing done.

Dixie