Showing posts with label Sewing Plans. Show all posts

Sunday, 6 January 2019

52 Week Sewing Challenge, Week 1

Last year, I joined the 52 week sewing challenge for 2018 on Facebook. However, due to being heavily pregnant, and then having a newborn, I did not actually manage to complete any of the weeks challenges at all. Luckily for me, the challenge has been renewed this year, with a new list of 52 challenges to complete.


This year's week 1 challenge was "Organise your sewing room" which could be taken literally, or in the way I chose to, and that was to sew something to help organise your sewing room. My sewing room has been neglected for some time, so I knew there was no way I would be able to get it all tidied up in time.


 After a little bit of pinterest searching, I settled on this "Undercover Maker Mat" pattern from Lillyella. However, as my machine is so much larger than a normal machine, I had to make my mat about 50% larger than the pattern. So I mostly just used the pattern as inspiration, and came up with my own. The main area is made up of 3 fat quarters (1 and a half for each side) and the pockets and binding were made with scraps from other projects.


During the little bit of sewing I have done since, I have found it super helpful to have my pins and scissors on hand (I am always misplacing my scissors) and I even found another use for it, as a make shift pin cushion for when I leave my proper one in another room.


Next week's challenge is to "Sew a UFO" so I have been looking through some of my half finished projects in my sewing room to complete. Hopefully I can keep on track with these challenges this year, and post my makes in the facebook group, as well as a blog post here each Sunday.

If this sounds like a challenge you would be interested, head to the 52 Week Sewing Challenge Facebook group and join in!

Dixie

Friday, 10 November 2017

Free Maternity Patterns and Tutorials

Seeing as I am now almost up to my third trimester! I thought I would share a list of my favourite maternity patterns and tutorials that I have found online. I really would like to say that I will wear vintage inspired fashion throughout this whole pregnancy, but I know myself better than that. There have already been daggy stretchy comfy clothes. But I will endeavour to keep my wardrobe as cute as I can, with the help of these patterns and tutorials.

This is a list of ones that I think I will use, not just your everyday "cut out the front and put a stretch panel in" or "trace a shirt that fits you". I hope this list helps any other vintage-style, sewing, expectant mothers out there.

Patterns:


The So-Sew-Easy Wrap Dress: A great maternity wardrobe staple if you are comfortable sewing with stretchy fabrics. I would probably shorten the bodice slightly and add more fullness to the skirt. It would also be great for breast-feeding access. There are plenty more free patterns on Deb's site, and many of them could be used for maternity/breastfeeding. Comes in a range of sizes, up to a 44" bust.


The turn about the room dress: A cute dress with a twist detail in front and almost elbow length sleeves. only comes in 2 sizes S/M and M/L, but would be easy to grade.


1950's style Maternity Tops: No explanation needed here as to why I'll be making this one. A basic 50's style maternity top with yoke, facings and gathered fullness.


Contoured Maternity Pillow: I love pillows, and usually have a mountain of them anyway, not sure if hubby will have any room on the bed with this one though...

Any other good maternity patterns and tutorials I should know about?

Dixie

Friday, 26 August 2016

Vintage Cyclops pram restoration project

Recently, as my husband were clearing out some old furniture and taking it to our local waste management centre, I spotted this Vintage Pram frame at the  tip shop. It was marked at $30, and needs a clean up, new tyres as well as a new bassinet part for the top. I didn't buy it when I saw it, but I thought about it overnight, plus I did a little bit of research, and decided I really really wanted to have it to restore and use for my future babies. So I went back the next day and luckily it was still there. The lady who worked there said she was surprised it hadn't been sold sooner.

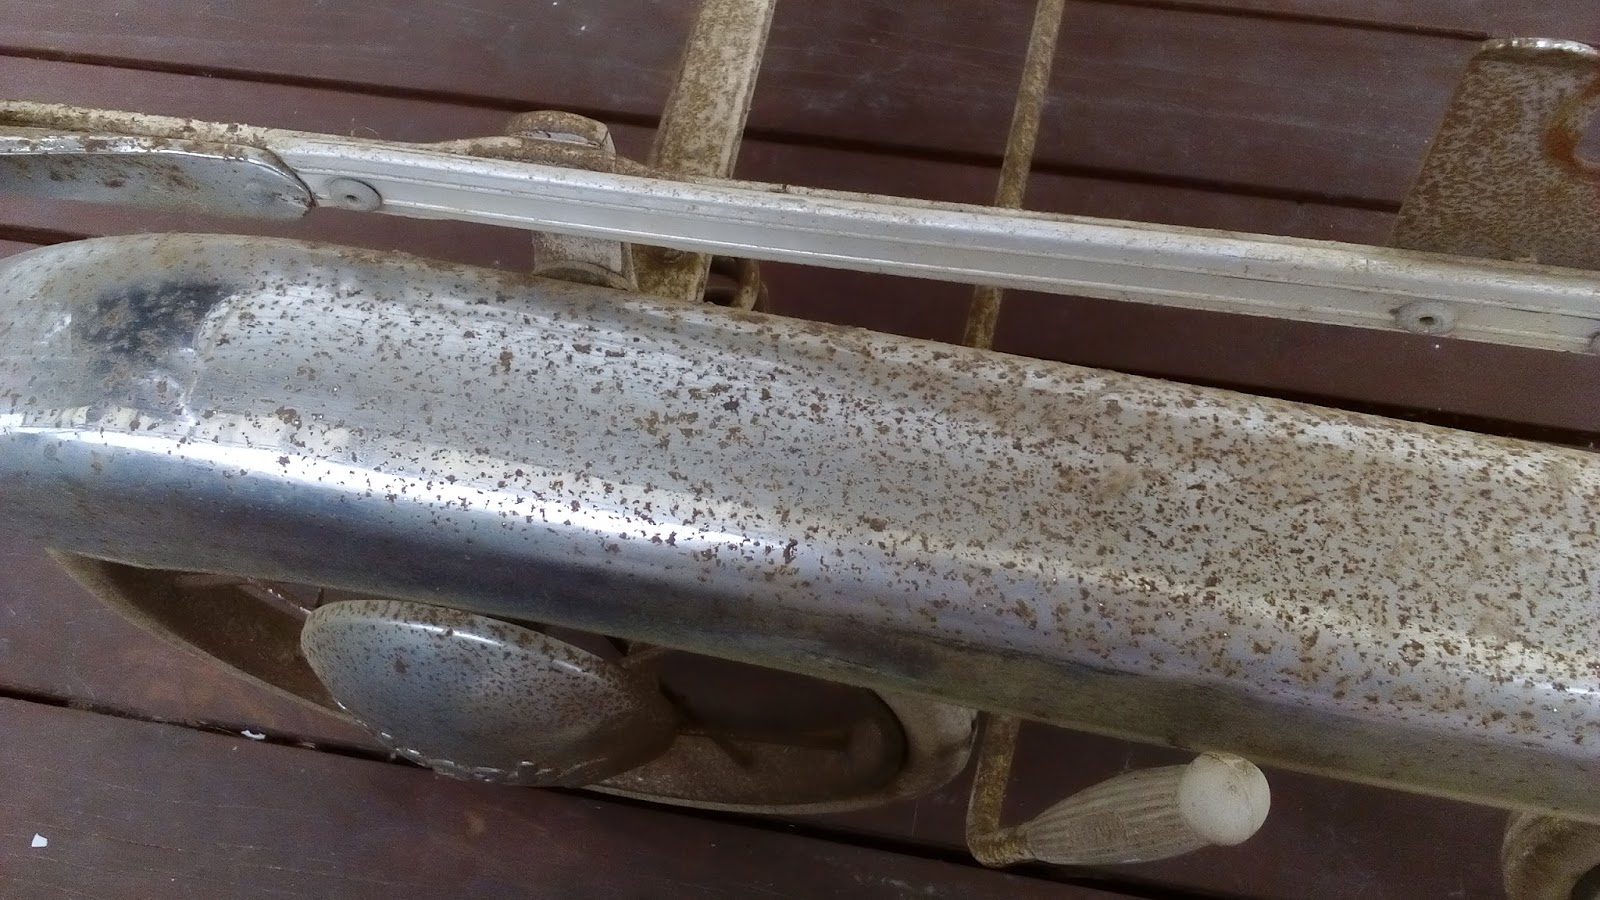
Before I paid money for it, my hubby and I had a good long look at it, to determine whether it would be a feasible project. Luckily the rust spots on the chrome are quite superficial and should come off. Other parts of the frame that are more covered in rust were not originally chromed, so we can scrub them back a bit harder, then paint them (I think they were originally a cream colour) One wheel has a pinched spot on the rim, however as these are solid rubber tyres, not inflatables, it should be OK, but hubby says he should be able to reshape it anyway.


This photo shows how much rust came off by just rubbing
with a dry cloth

After some research, and advice from my husband, I purchased Autosol Metal Polish to help remove the rust and polish up the chrome.


I decided to start on the hubcaps, as they were reasonably easy to remove from the pram. As I had heard steel wool can be too abrasive to use on chrome, I had a go at the back side of the hubcap first.

Here you can see the difference. The left one I had just started
polishing, the right one I hadn't begun yet.

The backs of the hubcaps are not quite as shiny and polished as the fronts, and the rust there was much worse, so I wasn't able to get them perfect, but still a lot better than they were. As the hubcaps were already pretty scratched up, and they aren't really something people look at, at close range, I though I would have a go at polishing the front sides with the steel wool as well.

Front of the hubcaps before polishing

1 quick go made a huge difference, as you can see, so I decided to go ahead and polish them all up, starting with these 2, then the other 2 a bit later.


There is still some rust left, particularly along the edges of the hubcaps and the lettering, but hubby think he can get that off when he finds the right attachment for his dremel. If not, I don't mind, as this was never going to be a Rick's restoration level of perfectness.

Next up were the wheels. I wasn't sure these would come up nice at all, but after a quick scrub with the polish, I was pleasantly surprised.

Starting to clean the wheel

This is going to be a bit of a long term project, as I only work on the polishing for short time periods, as the metal polish has a strong smell, and tends to get everywhere, so I have to regularly take breaks from it. But I am very optimistic that it will be finished before I have a baby to put in it.

I initially struggled to find much on this particular model of Cyclops pram, but I have since found a few more photos of similar prams. The wheel arch design seems to be fairly rare, with most dipping down in between the 2 tyres, having separate wheel arches for each tyre, or not having them at all. Here is what I have been able to find so far:

Brochure circa 1969
Found here on The Pram Man site

Found here on Pinterest from an expired Gumtree listing

Found here on Pinterest from an expired Ebay listing

Doll size Cyclops pram
Found here on Pinterest from an expired ebay listing

As you can see, ours is clearly missing the bassinet part, as well as the part of the frame that goes around the bassinet. The tyres need replacing, so I purchased replacement rubber from Dave from The Pedal Car Guy, who was a wealth of knowledge of all things Cyclops! He told me the bassinet part of the pram was most likely manufactured by another Australian Company, Pedigree, which is information I have not yet found on the internet.

I managed to pick up a wicker bassinet for $5 from one of my local op-shops to use as a base for the pram, which is from another Australian Company, Siesta. I may end up getting a nicer one at a later date or a pedigree one if I can find it, but this one seems like a good start if I want to build the hood and upholster the bassinet myself.

Has anyone else undertaken a restoration project lately?

Dixie

Tuesday, 12 July 2016

Birthday goodies for my 26th!

So I recently turned 26 (Sunday before last to be exact) and as like previous years, I have treated myself to a small shopping spree to celebrate (this year funded by my wonderful husband) I began by purchasing several pieces of leather from a stall at Winterfest. Leather is not something I would usually go for, being a dead animals skin, but as I delve a little further into historical re-enactment, I've realised it is kind of necessary for certain things such as boots and satchels. During the day at Winterfest, I really felt the main things letting down my outfit were my shoes and bag (and lack of petticoat, but that was just due to time constraints)


So I bought 5 reasonable sized pieces from the $2 a piece scrap bin (a few of which I think may have been there by accident, and actually were small full hides)

From left to right: a long matte black piece which I think will be perfect for belts, a really thick piece of off-white that I intend to use as boot soles, a lovely soft to the touch caramel coloured piece, a kinda stiff chocolate brown leather I thought I would use for boots and a super shiny dark brown piece which might not be suitable for historical stuff, but is quite a large piece, so I couldn't resist


After seeing the Marilyn Monroe Exhibition, my wonderful husband encouraged me to spend up some money at Spotlight, so we found our way to the Bendigo store. I found this interesting flesh coloured stretch mesh with gold and bronze sequins that reminded me a bit of the nude/silver beaded/sequined dress from the movie "Some like it Hot". It was on the sale rack for $20p/m and Spotlight was having a 40% off clearance fabrics, which brought it down to $12p/m. I bought 1.5m as well as half a meter of plain flesh coloured stretch mesh for the neckline.


My other bargains include some oriental crepe which was down to $3.60p/m, some blue printed poly voile down to $1.80p/m, 2 of the Gertie print polyesters down to $3.60p/m and an assortment of velvet ribbons for 10c p/m


I also picked up a few patterns from some op-shops we came across in Bendigo, including some Kwik-Sew patterns that will work nicely for nightgowns, a nice princess seam dress pattern in large sizes, a McCalls Retro pattern, an 80's maternity pattern as well as a smart men's blazer pattern.


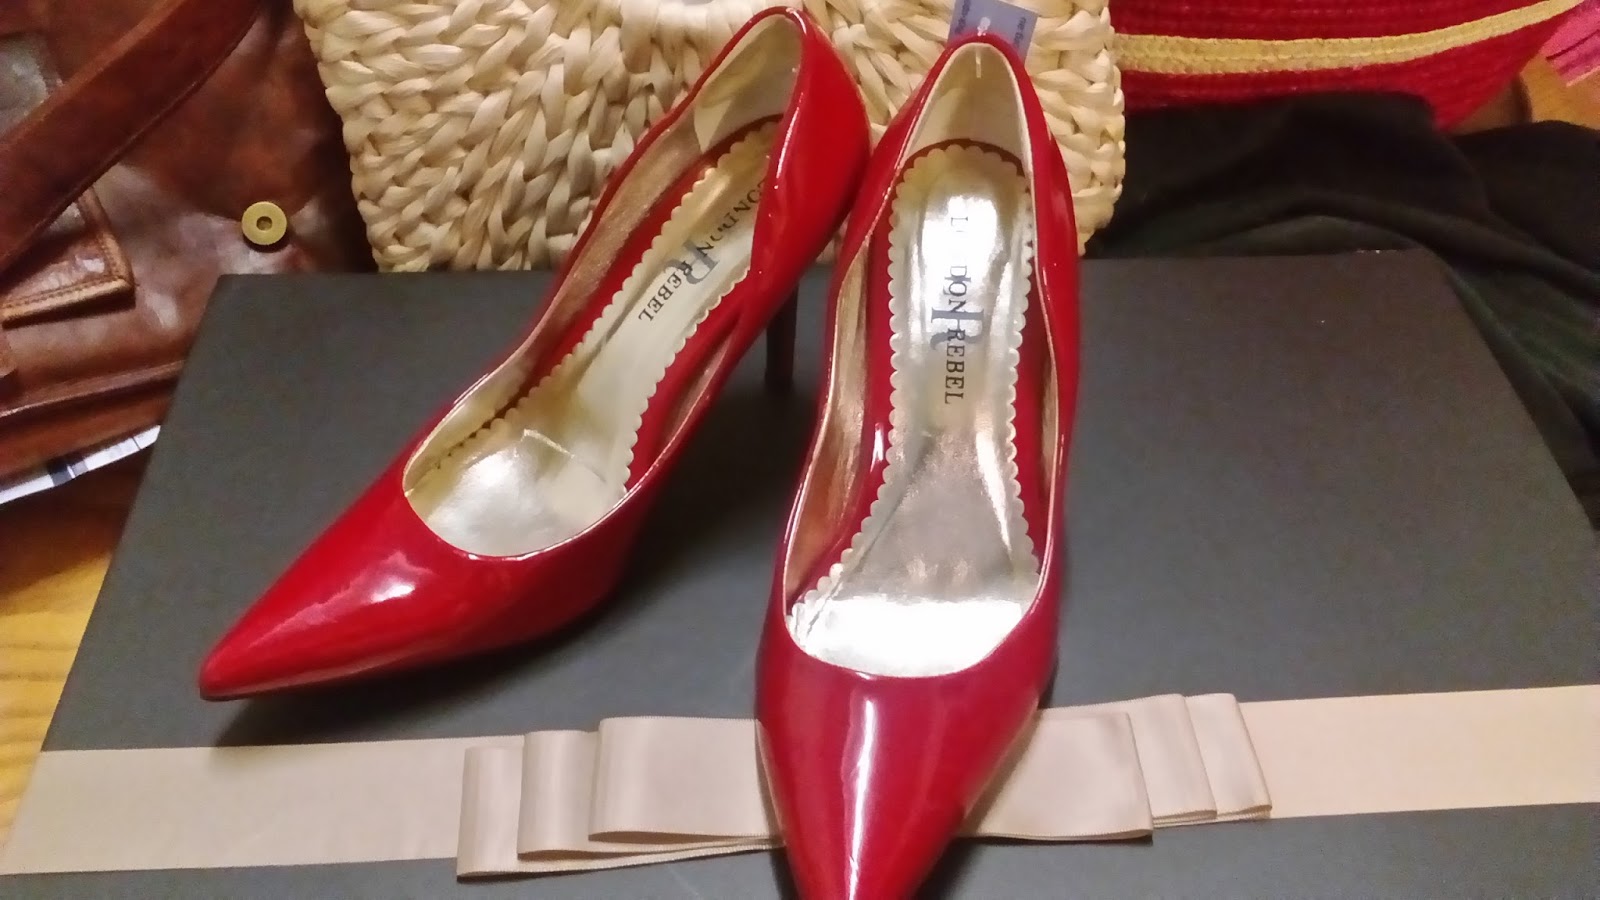
I also found another pair of red London Rebel Heels, exactly the same as the pair that I already have, but have almost worn to pieces!


When we finally got back from Bendigo, I had to go by my local post office to pick up a couple of parcels. The first of which was from my Nanna and contained a beautiful sweets plate and serving bowl from Peters of Kensington.


The second was a sumptuous hamper from my Dad and his wife. By the time I took this photo, I had already eaten a box of chocolates from it.....


All in all, between the roadtrip to Bendigo, my shopping and presents, I had a pretty enjoyable birthday. Here's to the next year of my life!

Dixie

Sunday, 1 May 2016

Me-Made-May '16

As it is now the first day of May (and a very wet one at that) I thought I had better post my Pledge on my own blog, seeing as I was one of the first to sign up on So, Zo.....'s sing up post.

I Dixie O'Dare, of missdixieodare.blogspot.com.au, Sign up to participate in Me-Made-May '16. I pledge to only wear me-made clothes every day for the duration of May 2016

I've had a good start so far by making sure I wore my retro Burda pyjamas to bed last night.


I did eventually get dressed, as I had to run to the supermarket for a few things, but mostly I spent the day in my sewing room, armed with my iron and a spray bottle of diluted vinegar, to work on my latest project.


I am sure a lot of you will be able to recognise what dress I am aiming to reproduce with this pleating, and if not, your only guess is that it is another Marilyn Monroe reproduction. I already have 2 other Marilyn Monroe reproduction outfits sitting half completed in my sewing room, that I did mean to finish before starting on this one. However, once I get an idea in my head to make something this spectacular, I just can't focus on anything else.

So far I have spent a majority of today and yesterday pleating the fabric for the skirt, and while I am further along than when I took this photo, I am still not finished the second side of the skirt (then I will have the fabric for the bodice to pleat as well!) But I am so excited for this dress, and I am sooo happy these pleats seem to be working out pretty well.

Anyone else participating in Me-Made-May (or working on any Marilyn Monroe outfits)?

Dixie

Tuesday, 12 April 2016

Vintage Suit Sew-Along: Inspiration and Planning

When Angela first announced on her blog that she and Amy of Chica Chica Boom Chic were hosting a Vintage Suit Sew-Along, I had so many ideas flowing through my mind.

Firstly was this pattern, which I have used previously to make a suit for a friend


As well as a few other, less structured Vintage Suit patterns in my collection


And then, as my mind usually does, it turned to Marilyn Monroe.....

Those of you familiar with my blog or me, will know I am a bit obsessed with Ms Monroe, in particular, her clothes and style. I have made more than a few reproductions of her outfits in the past. So of course, I began thinking of some of the gorgeous suits she has donned in her movies.

The first one that came to mind is the stunning black and white suit she wears while in Paris in "Gentlemen prefer blondes"


But she has some equally gorgeous, but less tailored suit looks, as well as a stunning tailored suit in the movie "Niagara"


Actually I thinking I will make this red coat sometime in the future anyway.


Of course the one that really caught my eye was the Pale Blue Suit. The longer I thought about it, the more I liked it, and I think I remember, that some time ago, I purchased some lovely light blue wool blend suiting type fabric from an op-shop. However, after spending the day tearing the house and garage apart, I could not find it. Which now has me thinking I imagined buying it,but it's more likely it is just hiding somewhere. I'm afraid to admit that my fabric collection is a little out of hand, so I really will have to do something to manage it all. Anyway, hopefully by the time we start actually constructing our Vintage Suits, I'll have either found my fabric, or bought some more fabric (although I probably shouldn't be buying more...) As for the pattern, the jacket is already quite similar to the vintage pattern at the beginning of this post, so I will draft it off that.


If I don't find/buy any pale blue fabric for this suit, my plan will be to just sew myself a vintage suit using some fabric from my stash. I was lucky enough to be gifted a large amount of this fabric from my lovely friend Beccie from Sew Retro Rose, some time back, so now would be a perfect time to use it (or some of it) I'm not sure exactly what to call this colour (a light olive green/grey?) but from experience, I know I tend to look best in pale colours versus dark colours, so I am sure this one (whatever it is) is going to work for me


Anyone else participating in the Vintage Suit Sew-Along? I'd love to hear your plans!

Dixie

Tuesday, 2 February 2016

2016 Vintage Pattern Pledge

So after only pledging to make 4 last year, and finishing up with 6 (not including any made from reproduction patterns or fabric which hadn't come from my stash) I have decided to go a little more ambitious this year and I have pledged to make up 10 of my Vintage patterns. I bought and was gifted quite a few vintage patterns and Australian Home Journals, So I have plenty of Vintage Patterns to choose from.


Perhaps I'll finally make up the cute collared shirt from this Australian Home Journal? I have been getting much more practice with buttonholes, and I do need more seperates, so this will be a strong contender to get sewn this year. I previously used this Home Journal to sew the dress in the center for the Kurri Kurri Nostalgia Festival


I received this great simplicity pattern from one of my Secret Santa's this Christmas just past, and think it will make a perfect winter work dress if made up in a nice heavier weight fabric


Speaking of Work attire, I still really want to make this pattern up for myself. I made it up for the lovely Rachel who owns Elsie George Boutique, and graded the pattern up to fit me, but my cats got on my cutting table and shredded up my graded pattern (not the original thank goodness) so I lost the motivation to work on this project, but hopefully I will get back to it this year and have a spiffy new suit to wear to work.


I picked up this Pattern sometime in 2015 (from Ebay I think) that is almost my size, so will require very little grading, with the intention of making some easy to throw on sensible workwear. I am seeing a bit of a pattern here, I obviously need more suitable work wear. even though my boss doesn't mind me wearing my brightly coloured, full skirted dresses in the office, sometimes I think it would be good to have some slightly more appropriate Vintagey options to wear (like my 2 versions of Butterick B6094)


I am in the process of grading this pattern into a multi-size pattern, and will be testing it out in my size very soon, so this will probably my first Vintage Pledge for 2016. I had a bit of trouble deciding how to grade the front bodice piece, so I will be definitely be testing it before scanning and sharing the pattern.

I know from last Me-Made-May I still need more separates, office wear, outerwear and pyjamas to make my me-made wardrobe more functional, so I will endeavour to fill those wardrobe gaps with some of my Vintage pledge makes 

Who else has signed up?

Dixie