Showing posts with label Tutorial. Show all posts

Wednesday, 5 December 2018

Hobby horse pattern and tutorial

On a recent VIP night at my local Spotlight store, we created very cute Christmas Hobby Horses, so I thought I would share the project here, as an easy to make gift for the little ones in your life this Christmas.

Here is a photo from the event. I am wearing a dress made a few years ago from New Look 6457, view D, in some adorable carolling kitties fabric from Spotlight. Bub is wearing Kwik Sew 3730, view C, in a current season Australian Fauna Christmas fabric from Spotlight (there will be matching outfits for Hubby and I in the same fabric, as well as a blog post about them soon)


This template has been provided by one of the wonderful staff members who work at my local Spotlight, through her facebook page. Print the image to fill an A4 page and you should get the correct size.


Materials:
Approx 40cm of fabric (quilting cotton will do)
Safety eyes
Feather boa or trim
Polyfill stuffing
75cm dowel or curtain rod
Satin ribbon or trim
Sewing machine
Needle and thread
Hot glue gun and glue
Scissors

Instructions: 
1. Cut out the paper pattern, then trace around it onto your fabric, giving you a sewing line to follow. Fold your fabric in half so you get mirror images, and cut roughly 1cm/1/2" outside that sewing line, you will need 2 sides for the head and 4 ear pieces (2 for each ear).

2. With right sides together, machine sew along the sewing lines around the head and both ears, making sure to leave the bottoms open. Clip any curves, turn right side out and press. Fold the raw edges of the bottom of the ears inside themselves and press.

3. Fold the ears in half length ways, either hand sew or hot glue in place on the head, using pattern to help with placement. You can also attach the eyes at this stage, by glue or sewing, or you can firmly stuff the head with polyfill, then sew on the eyes, sewing between them through the head and pulling the thread so that it sinks the eyes slightly into the head.

4. Once the head is firmly stuffed, insert the end of the dowel into the neck and gather in the bottom edge of the fabric using a running stitch. Applying some hot glue around the dowel before inserting helps to create a ridge so that the dowel cannot be pulled out. A bit more hot glue to hold the fabric, then cover the gathered raw edge with some ribbon.

5. Glue or hand sew the feather boa or trim along the top and back of the neck for the mane. Wrap a piece of ribbon around the nose, up around the top of the head just behind the ears and then around the back of the head with plenty of slack to make the reigns, secure with glue or hand sewing under the chin.

The finished product should look a  bit like this!


Apologies for the lack of step by step photos, as I decided to type this up a few weeks after the event when I made mine. With University over for another year, I am hoping to get a few more blog posts up over the next few months, as well as finally getting more sewing done.

Dixie

Friday, 10 November 2017

Free Maternity Patterns and Tutorials

Seeing as I am now almost up to my third trimester! I thought I would share a list of my favourite maternity patterns and tutorials that I have found online. I really would like to say that I will wear vintage inspired fashion throughout this whole pregnancy, but I know myself better than that. There have already been daggy stretchy comfy clothes. But I will endeavour to keep my wardrobe as cute as I can, with the help of these patterns and tutorials.

This is a list of ones that I think I will use, not just your everyday "cut out the front and put a stretch panel in" or "trace a shirt that fits you". I hope this list helps any other vintage-style, sewing, expectant mothers out there.

Patterns:


The So-Sew-Easy Wrap Dress: A great maternity wardrobe staple if you are comfortable sewing with stretchy fabrics. I would probably shorten the bodice slightly and add more fullness to the skirt. It would also be great for breast-feeding access. There are plenty more free patterns on Deb's site, and many of them could be used for maternity/breastfeeding. Comes in a range of sizes, up to a 44" bust.


The turn about the room dress: A cute dress with a twist detail in front and almost elbow length sleeves. only comes in 2 sizes S/M and M/L, but would be easy to grade.


1950's style Maternity Tops: No explanation needed here as to why I'll be making this one. A basic 50's style maternity top with yoke, facings and gathered fullness.


Contoured Maternity Pillow: I love pillows, and usually have a mountain of them anyway, not sure if hubby will have any room on the bed with this one though...

Any other good maternity patterns and tutorials I should know about?

Dixie

Tuesday, 6 December 2016

Handmade leather wallet, using supplies from home

This year, I have had an increasing interest in leather, mostly from going to Winterfest, and deciding I really need to make myself some historically accurate footwear for next year. I have been lucky enough to pick up some cheap pieces of leather, some $2 pieces from a stall at Winterfest, as well as some from a local antiques/curiosities shop. Coming up to Christmas, I thought it would be a great idea to use some of this leather to make some handmade leather wallets for some of the men in my life.

I trawled through pinterest for patterns and ideas, and decided on this bi-fold wallet pdf pattern and tutorial  for my first attempt.

I traced around the pattern pieces with tailors chalk on the wrong side of the leather, which wasn't great, but not much else was going to show on the black, then simply cut out the pieces with my paper scissors. I was going to use my rotary cutter, but I couldn't find it, and the scissors did a pretty decent job any way


Although I know I have sand paper, I couldn't for the life of me find it anywhere, so I did an almost embarrassingly girly thing, and used an nail file to sand the rough edges instead. As I was making a few of these, I did end up buying a 50c piece of extra fine sandpaper from Bunnings the next time I was there.

Norfolk Island Honey and Beeswax soap

I don't have the money to be going an buying the proper gum stuff to burnish the edges of the leather, but I saw in the tutorial that I linked previously, that the person doing it was using saddle soap instead. Now I don't have any saddle soap either, but I had a look in my bathroom and found some soap from Norfolk Island that contains beeswax, so I figured, close enough! If you don't have any saddle soap or soap containing beeswax, just use the most moisturising/conditioning bar soap you have (I don't think liquid soap will work) you could also try leather wax either in a colour that matches your leather, or in clear, as these do seem to be available at a few of the large supermarkets and department stores in my town, usually for less than $10

burnished piece on top versus
raw cut piece on bottom

As for the tool to rub along the edge to help shape it, I just looked around my house until I found a utensil with a grooved wooden handle to run along the leather edge. I ended up using the threading hook from my spinning wheel, but I also have a few old school bottle openers and fondue forks with similar handles. If you don't have one, check out a local op-shop, you can probably pick one up for less than $1

I also decided to just machine stitch my wallets, instead of punching holes with an awl and hanstitching. really you could do it either way, although I would only recommend using a machine that can handle leather. I used my old Janome with a walking foot. I followed the construction order from the tutorial, and was pretty happy with the end result.

Finished Wallet

Inside of my handmade leather wallet


With my first attempt finished, I am hoping to also create another one for my husband, although he likes to have a coin section in his wallets. While I didnt find a free pattern with that feature that I liked, I found it easy enough to modify the first pattern I used, by drafting my own coin pouch section, based on the one from this wallet making video.

Anyone else been sewing with leather lately?

Dixie

Thursday, 7 July 2016

A quick cloak and coif, and photos of WInterfest

After finishing off my Kirtle and Chemise to wear to Winterfest, I knew I was going to need something to wear over the top, as it was in the middle of winter. So I decided to make myself a cloak, with a faux fur lined hem and hood. I chose this light green/brown fabric from my stash, which I am fairly certain is wool or a wool blend, and some grey white faux fur.

I initially wanted to make the cloak a full circle, and I thought I had enough fabric to do so, but after I cut the first semi-circle, I realised I did not actually have quite enough.

Bummer.

However, I grabbed the piece I had cut, draped it over my shoulders, and realised I could get away with the half circle instead. Which also meant there would be half the hem to attach the fur to. Win win I think. So I then used the leftover corner section from cutting out the semi-circle, and roughly pinned out a hood shape. I checked the measurements against myself, making sure it would be nice and oversized, then cut it out. I also cut 2 strips approx 2" x 14" for ties at the front of the neck. All in all, I used just over 3m of fabric, So I still have about 2.5m left for other projects.

Cutting Diagram:


I began construction by machine sewing the 2 sides of my hood together along the back seam. Once I had sewn it, I then hand sewed each seam allowance down, pressing the seam open and folding under the raw edges. This gives a neat finish, concealing the raw edges, and is also somewhat period correct. I then eased the bottom edge of the hood to the neckline of the cloak body. To neaten this seam, I trimmed the excess allowance from the curved neckline edge, then pressed both seam allowances downwards, folding the seam allowance from the hood section under, concealing both of the raw edges. The front edges of the hood and cloak do not need to be hemmed, as I have utilised the neat selvedge edge of the fabric, which will not fray.

I then used a ladder stitch to fold in the edges of the strips to create the ties.


Then came the messy part

Sewing with Faux Fur!

I began by measuring how long the hemline on the cloak was.

I then cut four 5 inch strips of fur, joining them together at the short ends, ensuring the pile of the fur was all going in the same direction.


Which I then pinned, right sides together, along the hemline. Once it was all pinned, I machine sewed along that edge, then turned the fur to the inside and handstitched up the other edge, trimming the excess from the ends and turning them in to conceal all raw edges.


Then of course I had to try the whole outfit on and see how it looked! These were taken at night, so the lighting isn't great. Also, excuse my blue shoes!


I still haven't added the fur trim to the hood, but I do have just enough left from the hem to do it, so I will probably add it on a bit later. In the end, I am glad I only made this a half circle cloak, as I would have had to cut my fur strips half as wide, which I don't think would have looked as good. Also, it would have made the cloak a fair bit heavier too, and it is already pretty heavy.

As I only have shoulder length hair, I thought it would be difficult to style my hair into a medieval hairstyle, so I thought it would be easier to just shove my hair up into a coif.  I used some calico scraps and this tutorial, which I found through pinterest. The process was very simple, and very similar to my regency bonnet, just without the brim and the bias ties. I used a rectangle 14" by 25" (folded in half lengthways, with a slight curve cut out of the long edges) and a oval-ish circle with a circumference of about 40" and hand stitched the whole thing together during my lunch hour at work, as well as some time that evening while watching a movie with my mother


The ovalish crown is gathered and sewn to the rectangular piece. I sewed one side of the brim to the crown at a time, so that I could encase all the raw edges inside the brim. A good press, then it was ready to go! I divided my hair into 4 sections, which I then plaited and pinned across each other with Bobby pins. This held my hair fairly neatly and flat all day under the coif.

Here is a photo from Winterfest with the brim folded back (and a unicorn)


And another selfie, but this time with the brim unfolded, to keep the sun out of my eyes.


Of course my friends, my husband and I all had lots of fun at Winterfest. They Birds of Prey display was much bigger this year than the last time I attended (way back in 2009) This little guy pictured is Brian, and it was his first show.


Here is Lauren getting to hold Zorro, who is the same bird I had a photo with back in 2009.


Steve having a go at Archery.


Watching the Jousting


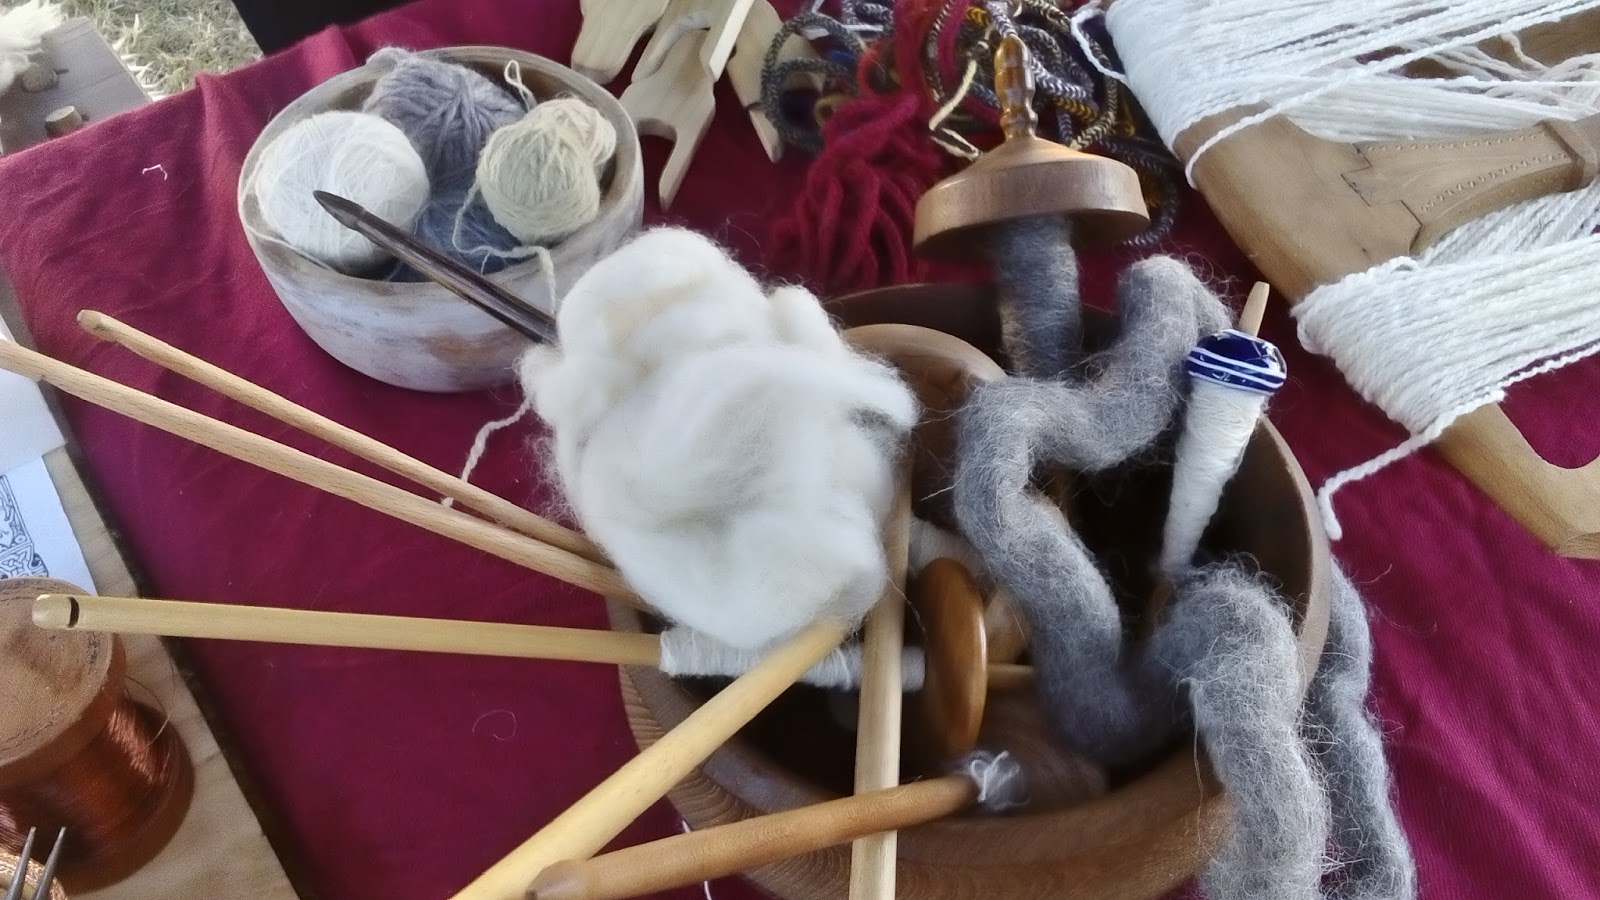
I also got to have a go at a few medieval/viking handicrafts, with a re-enactment group from the Blue Mountains. Including Viking wire weaving, loom weaving, drop spinning, fork knitting and more!


Photo by Cliff Dorian

Photo by Cliff Dorian


Lauren and I both managed to win free passes for next year's Winterfest in the Costume Competition, so we will have to make even more impressive outfits for next year's event!

Dixie
Sunday, 27 March 2016

Peasant Top Pattern Hack

So there is this vintage reproduction peasant top that is quite popular with fashion bloggers and people into the vintage fashion scene. I don't think I need to mention the brand, but suffice to say it is a very popular brand. I would love to have some of these tops, one in every colour if I could. Unfortunately my budget can hardly stretch enough to buy one, let alone a dozen or so.

And so I decided to make my own, using an existing peasant top pattern I already owned as the base.

I am using Burda 6791, but nearly any peasant top pattern will work.


Now the good news for all you plus size seamstresses, is that because we are making this top out of a stretch fabric, you need to size down considerably. Which means there's bad news for all you skinny minnies out there, as you will need to grade your pattern down (which is fairly simple with this style of pattern) I usually make about an 18-20 depending on the brand of pattern. For this, I will be using the size 8! Because this pattern is meant for woven fabrics it has a lot of ease in it. The finished garments measurements for the bust is 45 1/4 inches for the size 8. My bust is 44 inches, so this seemed to me like a good size to work with. You can choose what size is best for you based on the finished garment measurements (not the size chart) on the pattern of your choosing.

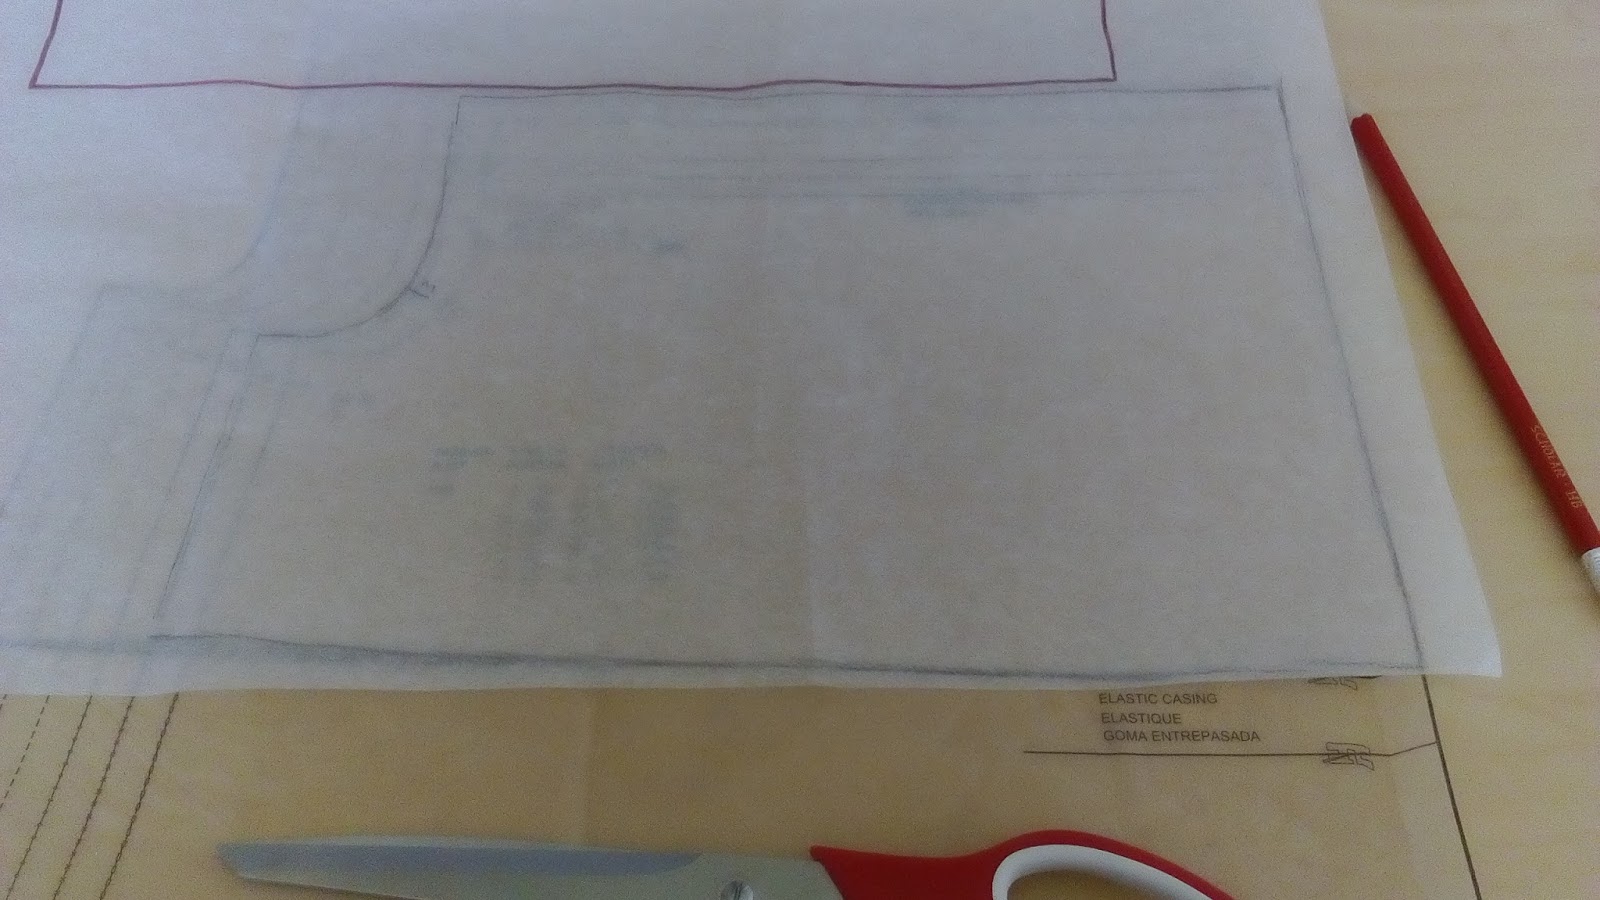
To start with, I traced the sleeve piece in my chosen size. I decided to shorten it slightly by tracing along the hemming line and using that as my cutting line instead, making my sleeve pattern just under 8 inches long. You can choose a length to suit yourself, but for this style top, I don't think I would go any longer than that.


I also traced the very top part of the front and back pattern pieces. Now this pattern has a very convenient under bust line for the elastic casing, which I am going to use as my seam line, adding 1/2 inch to the bottom edge for seam allowance (which I didn't fit onto the tissue paper pattern, but will add when I cut the fabric) If your pattern doesn't have this line, just roughly measure how long you want the bust piece to be, mine is just under 8 inches long (which made things a little confusing with the sleeves later) If you have small boobs you may want a shorter length, and those ladies who are more well endowed than I will want a bit more length.


Then draft a simple waistband piece. I used the same for the front and back. Use 1/4 of your underbust measurement for the top edge, taper into 1/4 of your waist measurement, then flare out again. If your fabric is particularly stretchy, or you don't have much difference in measurement between your waist and underbust, you could just use 2 rectangles instead.


I chose a light weight stretch fabric from my stash, in a lovely teal colour, that I purchased from an op-shop for $2 (there was plenty left over, perhaps a matching skirt?)


Make sure you cut your pieces with the direction of most stretch going side to side, not up and down.  Here is all my pieces cut out:


Sew the sleeves to the front and back but pieces as per your pattern instructions. I sewed all 4 sleeve seams, then the 2 side seams together, using a zigzag stitch so that the seams could still stretch, then overlocked the seam edges. I then overlocked the neckline edge, folded it over and top stitched with a zig zag, leaving a small bit open, to create an elastic casing. As I only wanted a soft pull of elastic, I decided to go with thin, round hat elastic. 


Using a safety pin to help pull it though, I gathered the neckline into what looked like a good size, and tied off the elastic. I then set my straight stitch to it's longest length and sewed a gathering stitch around the bottom edge of the bust section.


Grab your 2 waist band pieces and sew them right sides together along the side seams. I chose to use a triple stretch stitch for these seams, as this part of the top will be the tightest fitting. I also overlocked along these seams.


Using the bobbin thread of the gathering stitches, pull in the bottom edge of the top section to roughly match the top of the waistband piece (doesn't have to be exact, as you can adjust it as you go) 


Distribute the gathers evenly and pin the top to the waistband, right sides together, matching the side seams, and sew. I again used a triple stretch stitch, then overlocked


Now all you have left to do is the elastic casings on the sleeve edges (done the same way as the neckline) and hem the bottom edge (and probably give it a press, but hey, its a knit fabric and I'm lazy)


And here it is on. Excuse the bra straps, my only strapless bra is red, and I'm pretty sure it would have shown through the fabric a little with this top.


While it is by no means perfect, it's certainly wearable. I think next time I make one of these tops, I will go up one size, and make the arm holes a bit deeper, as they aren't deep enough to have the sleeves sit on my shoulder, only off (although I do like how it sits) I will also probably make a bit more effort to get my gathers sitting more evenly under my bust. All in all I think it is a pretty cute, wearable top, that I now need in every colour!

If anyone uses this quick pattern hack to make their own brand-name-knock-off peasant top, I'd love to see it!

Dixie

PS. Happy Easter! So far I have spent Good Friday making flat bread and seeing a movie with friends, Saturday relaxing in my pyjamas all day, and today I am just about to head out to a friend's place to go Easter egg hunting with her kids!

Wednesday, 23 March 2016

Easter Basket lining tutorial


With Easter almost upon us, I thought I would take a bit of time away from sewing pretty dresses, and decorate myself a cute Easter Basket instead. Then I thought, even better, how about I make a tutorial for it? I hope you enjoy it!

To begin, you will need:

A basket


I picked mine up last weekend for $2 from an op-shop. I specifically wanted a rectangle base basket, as all the ones I have are round, but this tutorial will work for either.

Some pretty fabric


A lightweight cotton, or even a satin would probably be best, I've chosen to use this piece of lovely pink and white seersucker that I picked up for 50c from an op-shop some time ago, but haven't used yet, as there wasn't enough there to sew a garment from. Depending on the size of your basket and the width of your fabric you may only need less than 1/2 a meter.

Some ribbon


I didn't have any matching pink ribbon in my stash, so I've gone with a white one

Bias Binding


Again, I didn't have a matching pink, so I went with white

Also needed: Some newspaper or tissue paper, a marker or pencil, paper scissors, fabric scissors, measuring tape, sewing machine, some wadding (optional)

Steps by step instructions:

To make yourself a pattern for the base of your basket, use a piece of tissue paper or newspaper, and lay it in the bottom of your basket, using your fingers to crease the paper into the corners.


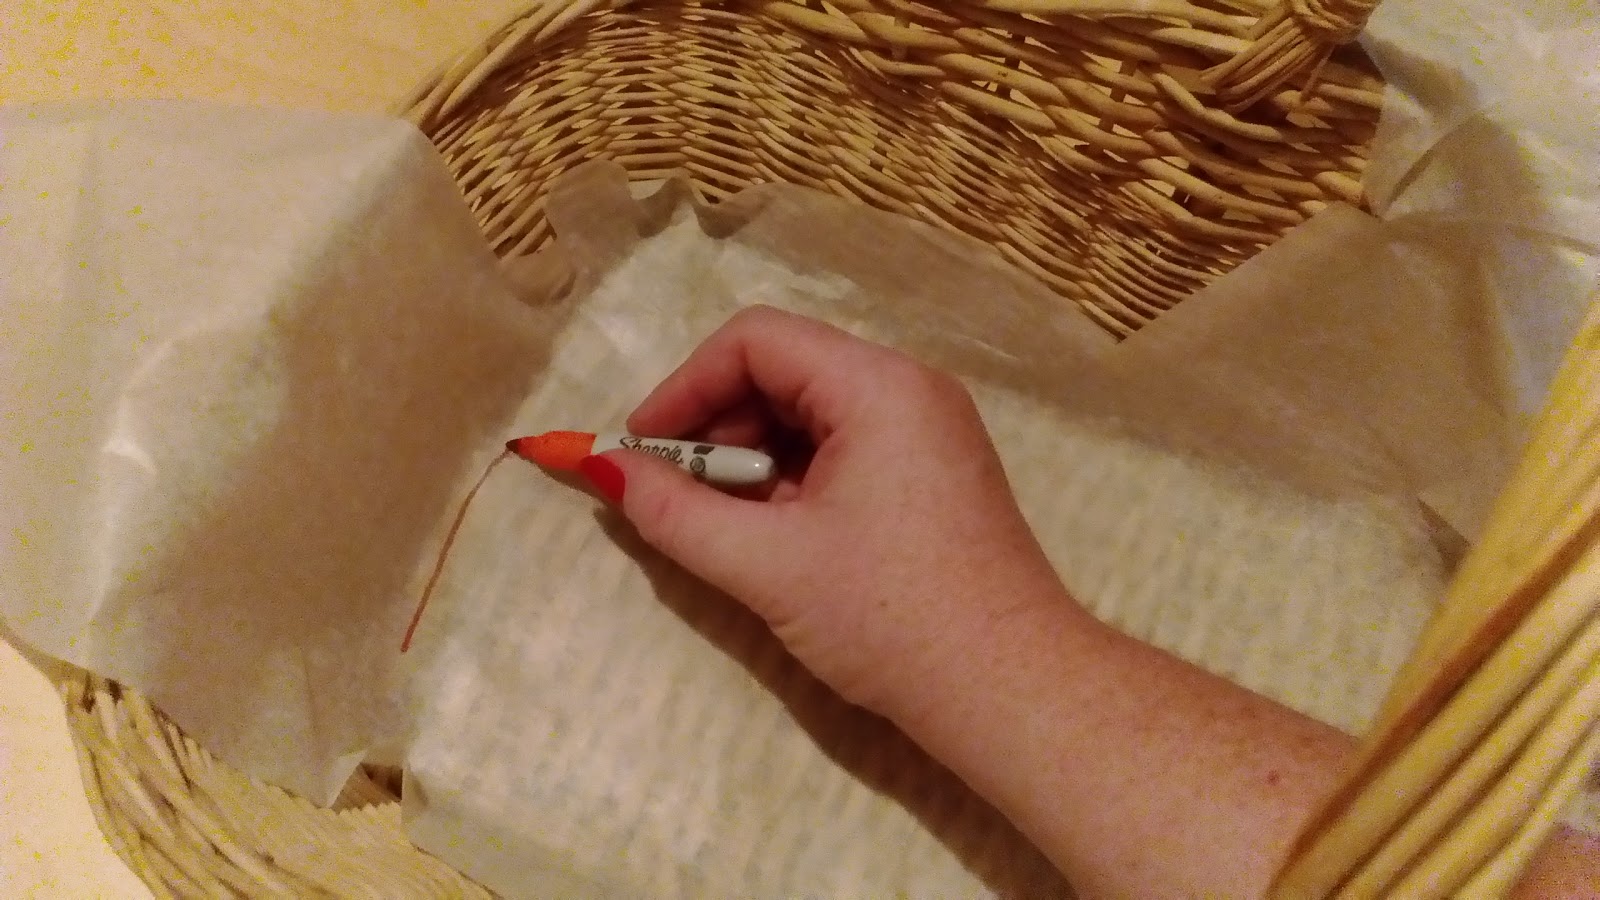
Using a marker or pencil, trace around the bottom of your basket


Take the paper out of your basket and trim, leaving about a 1/2 inch seam allowance (or however much you prefer) This is now the pattern piece for the base of your lining.


Now measure the depth of the sides of your basket. Mine is deeper where the handle is and shorter at the ends. A basket that is the same depth all the way around will make this part much easier. You will also need to measure the outside edge of the base piece.


My Basket's base is 36 inches around, and my side depths are 3 inches at the lowest and 5 inches at the highest. As my piece of fabric is not huge, I am cutting my piece in 4 pieces and sewing them together, but if you had a long piece of fabric you could do it in one. You want a piece that is about 3 times the length of the circumference of your base piece, for a nice fullness in the gathers.

As my base was 36 inches around, I needed 108 inches in length, with the width varying at points for my 4 sides of the basket. The scribble below shows my planning for cutting, although I added seam allowances to the end making it 6 and 4 inches instead of 5 and 3.


I cut this out of my fabric twice (there's 2 layers of each piece in the below photo) As well as 2 layers for the base piece.


I then sewed them all together in a big loop, making sure the flat edge was all at the bottom.


Using my machine's largest stitch setting, I stitched along both the top and bottom edge, then pulled the bobbin thread along the bottom edge (leaving the top for later) to gather it up


Pull the gathering in until it is roughly the same size as the outer edge of the base piece, and distribute the gathers evenly


Pin your gathered loop to 1 of the base pieces, I used my 4 seams to line up with the centre of each edge, making sure the shorter ones were on the ends, and the deeper sides were pinned to the longer sides.


Pin all the way around, adjusting the gathers if necessary, and sew together


Pin the other base piece on top (right side facing in) and sew around, leaving 2-3 inches of one side open to turn through (to be honest I should have left a bigger opening, I struggled to turn mine out)


Cut a piece of wadding a bit smaller that your basket base.


and insert through the opening. It may take a bit of tugging and poking to get it to lay nice and flat where it is supposed to.


Pu your lining into your basket and pull the gathering stitches along the top edge so that it fits well along the edge. Distribute the gathers evenly around and tie of the gathering stitches so that the size wont change when you take it out and handle it to sew the binding on.


Sew the binding around the top. I haven't taken any progress step by step photos of this, but there are numerous tutorials out there for sewing on binding.


You could finish there if you like, or you could glue your lining down along the edge, or hand stitch it in place, like I originally planned to. Or you can use 2 ribbon ties at the handles to hold the liner in. I cut 2 pieces of 9mm wide ribbon, approximately 30 inches long. This will vary depending on the size of your basket.


Pin the centre of the ribbon to the middle of the liner edge (or wherever your handle are located) I sat my liner in my basket to check placement, then used my machine to sew the ribbons in place.


Put your liner in your basket and tie the ribbons in bows. My bow tying skills leave a bit to be desired......


Then fill with Easter treats! I clearly need to buy more! Or use a smaller basket.


You could add some lace along the edge if you wanted to, or even decorate the handle with some fake flowers. I've left mine quite plain so I can use it all year round, and through into the wash if it gets dirty.

I hope you have enjoyed my little tutorial, I would love to know if anyone uses it to make a basket liner, for Easter or any other time of year!

Happy Easter!

Dixie