Showing posts with label Holidays. Show all posts

Sunday, 16 December 2018

Free crochet market bag pattern

Lately I have been trying to come up with easy, useful Christmas gifts for family and friends. I experimented with making a simple crochet market bag pattern when I was pregnant last summer and have finally written it down to share.  It works up very similar to me previous crochet snood tutorial, so I haven't taken as many detailed steps in this one, but if you have a basic understanding of crochet, you can make this. I can whip one up in about an hour or so, they are super quick, and use 1 average ball of 8 ply yarn. I've been using acrylic yarn, to use up some of my stash, so these bags end up quite stretchy. Cotton would be stronger and a bit less stretchy, but honestly I haven't had any issues carrying heavy groceries in mine yet, and I have been using a couple of them for a year now. 

This light blue one is one of the ones I have been using for some time, and although it looks small, I find that it is the perfect size when it stretches out


Apparently it also makes a comfortable seat.

To begin the bag, chain 6, then attach to the first chain to form a ring. Chain 3 to form the first stitch, then double crochet followed by a chain 9 times to form 10 in total, and slip stitch to the first chains to complete the first round.


Round 2: Chain 4 and then make a double crochet and 2 chains in each space, created by the previous round.


Round 3: Chain 3 and then make 2 double crochets with a single chain after each, in each space, created by the previous round.


Round 4: Chain 4 and then make a double crochet and 2 chains in each space, created by the previous round.


Round 5: Chain 3 and then make 2 double crochets with a single chain after each, in each space, created by the previous round.


Round 6: Chain 4 and then make a double crochet and 2 chains in each space, created by the previous round.


Rounds 7-20: Chain 5 and then make a double crochet and 3 chains in each space, created by the previous round. Your bag should start curling up after a few of these rounds, and once done, your bag should look something like this one (sorry for changing bags midway through) You can add more rows here if you think the bag is too small, but keep in mind they need to be a bit small to account for all the stretch. For scale, the book is A5 size (and the baby hands are 10 months old) 


Forming the handles is probably the trickiest part, but it isn't all that hard. You can choose to make your handles longer or shorter depending on your preferences. Apologies that I haven't taken photos of these steps, but hopefully they make enough sense. I will try to add photos at a later date.

Round 21: Chain 2, then make 3 single crochet in each space for 5 spaces. Chain 70 and join back after 9 spaces with a single crochet, and continue with 3 single crochet in each space for 11 spaces. Chain 70 and join back after 9 spaces, and continue 3 single crochet in each space until you finish the round. This should be 6 spaces, if yours is different, that is OK, but you will have to work out your handle spacing so that it is even.

Round 22: Chain 2, and then single crochet into each of the spaces from the previous round, with 70 single crochet stitches on each handle.

Round 23-24: Chain 2, and then single crochet into each of the spaces from the previous round.

You have the option of doing more or less single crochet rows, based on your preference and how much yarn you have. 2 is probably the minimum, but I like 3.

Once you have completed your single crochet rows, I like to make a small loop from about 20 or so chains (I forgot to count) then single crochet around the loop. This is for hanging the bags in the bagging area at the checkout at the supermarket (similar to the holes in the plastic bags). If your supermarket doesn't use these, then you can leave them off.


Hopefully you find this pattern helpful, for gifts for others, or even for yourself!

Dixie

Thursday, 20 April 2017

Rowany Festival

Sorry for the lack of updates lately, I have been a very busy little bee!

This Easter Weekend just past, I attended Rowany Festival, which is the biggest SCA (Medieval re-enactment) event in Australia. There were around 1000-ish attendees, all dressed in medieval garb, some even with period accurate camp set ups. I unfortunately didn't take any photos, as I didn't want to lose or damage my camera, and turned my phone off for most of the event to conserve power. So here are a few photos from other members of my camp.

The Barony of Mordenvale's campsite
Photo by Alexous Ofuri

Watching court, you can see my big bum in the blue plaid,
with 2 other people from my camp
Photo by Nicole Flood


2 of the guys demonstrating some swordplay
Photo by Nicole Flood


Me and Nicole
Photo by Quinn Ortega-Edwards


One of the Artisans building a forge

One of the teams during morning war
Photo by Nicole Flood

I managed to quickly make a houppelande from a doona cover set I picked up second hand for $12 a few days before the event. Most of the cutting out of the pieces I did during some spare time at uni, and a majority of the construction happened during meeting time for the uni SCA group, with only the hem being done at home, and the neckline and belt hooks and eyes being hand stitched on the bus ride to festival.

On the line drying after being washed. There is also a belt in
the same gold flocked brocade.

Bell sleeves and a very full skirt

 With this additional dress, I had 3 complete outfits to wear, which only meant I would have to re-wear 2 of them. My first outfit of course was the one I made for Winterfest last year, the second was one I made for the SCA newcomers event earlier this year and haven't blogged about. It consists of a white chemise, this time made from essentially an over sized T-tunic with a gathered neckline, a bodice/pair of stays made from calico and a brown wool petticoat.

Also on the line drying, and in desperate need of a press.

This does lace fully closed, and the next one I'm working on I
am working on is a bit smaller and shorter in the back

I had a few other items I had started making for festival, but either didn't get finished in time, or I lost interest in them as they weren't turning out as I had hoped. I may or may not get them finished in the future, we'll see I guess.

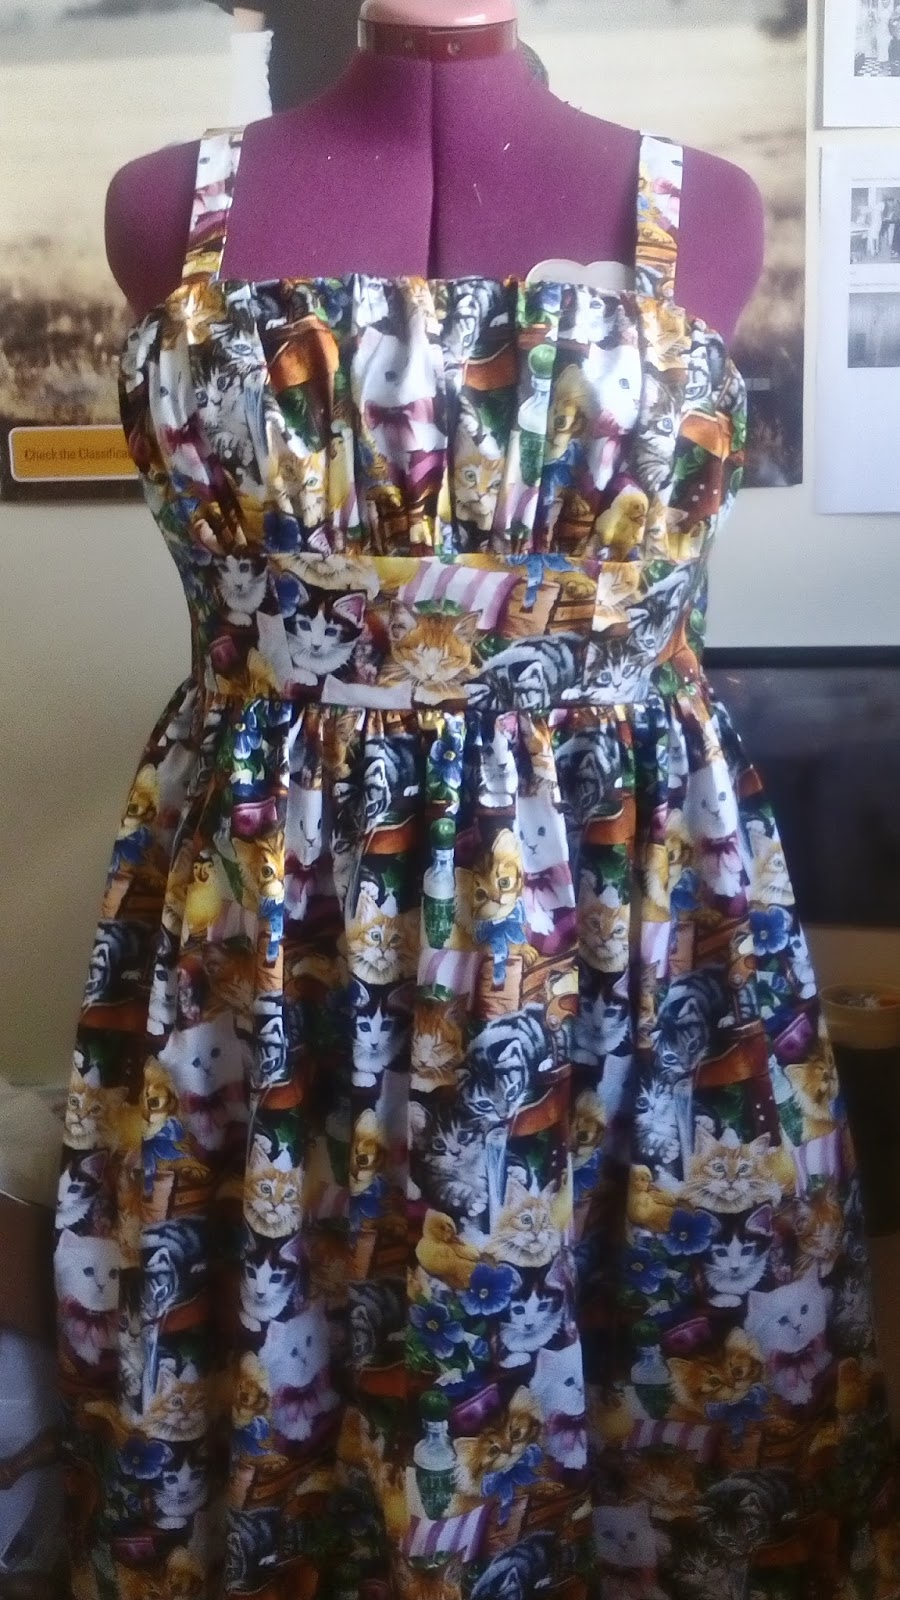
Other than preparation for festival and the festival itself, I haven't been up to much else apart from University study. I have been trying to limit myself to not sewing anything if I have assessments that need to be done, otherwise I would never get them finished on time. I have started on another Butterick 6167 (yes, another!) in an adorable Cat print quilting cotton from Spotlight. After being away from my sewing machines so many days, I really needed a nice quick sew to feel some accomplishment. It's almost finished, with just the zip and hem to go.


I am already dreaming up plans for garb and camp set up for festival next year, so hopefully I get myself organised during the year and don't leave it til last minute (like I usually do)

Dixie

Saturday, 31 December 2016

Christmas away and a look back on my 2016

Merry Christmas, Happy New Year and apologies for neglecting all my readers for the past few weeks.

As I have mentioned before, I don't like to announce to the world before I go away on Holidays, and a few days ago I returned home from a 10 day South Pacific Cruise on Carnival Legend.

Mum, just before we boarded

Overall the Decor on the Legend is rather Garish, but I found the food and some of the entertainment to be superior to P & O ships. Of course, the ship was decked out in Christmas Decorations too, and a few people even decorated their own cabin doors.


There was even this display of "Gingerbread" Houses made by the kitchen staff. They seem to be made out of whatever they could find in the kitchen, including things like crushed eggshells and nutrigrain.


Most days we would come back to our room to find cute towel animals on our bed. My favourite was the turtle.


This trip's visit to Mystery Island did not feature the beautiful clear water that I experienced back in May, due to recent storms and/or tides, so we did not get to see any fish while out swimming, but it was enjoyable nonetheless. We also enjoyed a Beer on the beach.

Mystery Island

Beer on the Beach on Mystery Island

This time my time spent on Lifou was spent snorkeling, instead of walking up to the chapel on the hill. I have never been able to snorkel successfully before, as swimming over corals, or going out past where I can touch the ground terrifies me. However, having my husband with me helped tremendously and I was able to swim around and see many different types of fish and coral, for about 2 hours. Unfortunately, my mother has been using spray sunscreen lately and loving it. But even 2 brand new cans of SPF 50 Banana boat sunscreen were not enough to protect my skin, and so my husband and I spent the rest of the cruise with quite severe sunburns. His mostly on his shoulders, and mine, well.... I'm not sure I've ever been sunburnt on the back of my thighs before....... It made sitting down for the next few days very difficult and painful.

Tender to Lifou

Approaching Lifou in the tender

Mare was the only port this cruise which I had not been to before. The side of the Island where the ship comes into was fairly underwhelming, but had a nice welcoming display by the locals as well as a few market stalls, where we bought my Husband a wooden carved Tiki head for Christmas, which he loved.

Island Welcome at Mare

However, when you pay the $19.99 (bit of a rip off) for the bus transfer to the other side of the island, you are greeted with the beautiful Yejele Beach. Lovely white sand and lots of sections of coral populated by a kaleidoscope of sea creatures, all protected by a barrier reef, made this a perfect beach for snorkeling, beach frolicking or just relaxing on the sand. Along the road are huts selling different food and drink items, and reminded me quite a bit of the Isle of Pines.

Yejele Beach on Mare

This time around I made sure I lathered on thick cream SPF 50 sunscreen. I really don't mind the greasy, heavy feel that some people complain about with some sunscreens, as I find those are the ones that work best. Just because sunscreens have the same SPF rating, does not mean they offer equal protection.

Mum and I on Yejele Beach, Mare 

Mum and I participated in a couple of Trivia sessions hosted on the ship, and we completely smashed the Country Music Trivia on Christmas Eve, beating out the second team by about 6 or 7 points (most of the trivia rounds were much closer) We won a bottle of French Sparkling wine for our efforts.

Cocktails during Trivia on Christmas Eve Morning

Then we treated ourselves to Sushi for Christmas Eve dinner. My husband and I shared the "Sushi Ship" which cost $22, and mum had 2 rolls (a California and a chicken Tempura at my recommendation) Mum said before this, that she didn't like sushi, but this place changed her mind.

Sushi Dinner for Christmas Eve

For Christmas Day, My husband and I wore our matching Christmas outfits, and I think he got more compliments from people than I did. I guess it's just a lot more unusual to see a man is custom made novelty print clothes.


We spent part of the day drinking cocktails up on the open deck, teaching Fransisco how to make origami cranes, as well as making other origami things.

Teaching Fransisco to make Origami Cranes

Fransisco's favourite thing to make was those scrunched pieces you can see on the bottom left side, which he called wombats........ Digested wombats.

Completed crane!

Christmas Day Origami!


Boxing day, the last full sea day of our cruise, Mum and I decided to go in search of the "Fishbowl" cocktail we had heard of. You can get a range of cocktails in the fishbowls, and we opted for the Caribbean Ice Tea (both being fans of Long Island Iced Teas) and then we had another during the last comedy show.

Boxing day Fish bowl Cocktails

Caribbean Iced Tea Fish bowl

All in all, it was a bit sad to depart the ship and head home to the real world where you have to cook your own meals and wash your own towels, but I was looking forward to seeing my kitties and sleeping in my own bed.

Although I have done quite a lot of interesting things this year, it has actually been a very hard year for me. Although I haven't mentioned this before on my blog, but I have actually suffered 4 miscarriages throughout this year, the most recent one happened while I was away on this cruise, which is why I didn't drink for the first half of the cruise. They have all been very early, most around 5-6 weeks, the most recent reached 8 weeks. I will be seeing a specialist in the new year to hopefully find out why this has been happening and correct it.

As such, I am very much looking forward to the New Year. Although my job as a Travel agent finished up in November, this led me to applying to University, which I will be starting in February, which I am really looking forward to. So 2016 can go die in a hole, bring on 2017!

Dixie

Monday, 28 November 2016

Christmas Kitty Dress and matching Bowling shirt

As part of one of my secret Santa gifts I received last year, I was lucky enough to get some of  this adorable Christmas Kitty fabric (it's called Cats and Ornaments on the selvedge) Which I swear I had not seen for sale at Spotlight prior (and you all know I look for anything with kitties on it) but after I received my gift, I did manage to find it at my local Spotlight, so I purchased a bit more so I would have enough for a dress, Hooray! It has sat in my stash all year, but now it is almost silly season which means it's time to sew all the Christmas dresses!

Spotlight Fabric and Simplicity 1459

I decided to use Simplicity 1459 for this dress, opting for the sleeveless version. I am making some design changes to it, by extending the button front all the way down, and using bias tape instead of armhole facings (which I find annoying). I am also grading it up slightly, shortening the bodice, using a basic gathered skirt instead of the pattern pieces and of course, adding pockets!

Once I had all the bodice pieces cut out (I used a plain red for the under collar and front facing to save kitty fabric) I began the construction. It goes together quite easily, much like any other pattern. Darts first, press, overlock, shoulder and side seams, press, collar pieces together, seams clipped, turned right way out, press. I top stitched along the outer edge of the collar to give it a clean finish, then stitched the collar along the neckline.

Partially sewed bodice
I went through my button stash and found heaps of possibilities, so I posted on instagram and Facebook, to see what my friends thought. I had a lot of votes for both the green ones and the red ones, but ended up deciding on the red ones on the left hand side, as there are 12, so enough to make it button all the way down the front. If I had used the green ones, they would have only gone partway down.

Button choices....

When it got time to cut out the skirt pieces, I measured what I had left and found that I had enough fabric to make the skirt from 3 widths of fabric (instead of my usual 2) However, as I was deliberating cutting it, my husband asks me "Can you save me some of that fabric?" I asked him what he wanted made from it, but he had no idea, and while I don't mind stashing fabric for him, I already have quite a few kitty fabrics in my wardrobe, and would rather use all the fabric in my dress than stash it away for innumerable years.

So instead, I measured my husband and ordered the Free Men's shirt pattern from Lekala. I had to make a few changes to the design, like shortening the sleeves, I also extended the back yoke, and cut the front pieces to have a yoke, as the panel of Christmas kitty fabric was only 26" long, and the shirt was 35" long. The back of the shirt, a panel of the front and the pocket have all been made with the christmas kitty fabric (and pretty much used up the whole width) with the rest being made from the same red cotton sheet I used for the facings and pockets in my dress.

I followed this blog post for instructions on how to sew the collar stand and collar, as that was the only part of the construction I didn't already know how to put together, and Lekala patterns are notorious for their crappy instructions. As I was finishing the collar, I decided to embroider a surprise message on the collar stand before I sewed it in.


After getting my husband's shirt done (all but the buttons and button holes) I turned my attention back to my own dress. I cut and overlocked all my pocket and skirt pieces, then sewed them together, gathered the top edge and sewed it to the bodice. The facings and armhole bindings were then sewn, and finally, the button holes and buttons.


After finishing the buttons, I tried the dress on to check the fit, and I loved it!

Still not hemmed though...

Selfie!!

After it was hemmed, I paired it with a red belt and shoes and wore it out shopping with my mum. I felt pretty adorable wearing this, maybe because it was a slightly shorter skirt length than I usually wear.


And here is a shot of his shirt, with better day time lighting.


I will eventually get the buttons on my husbands shirt done, but it is still wearable (over a singlet) without them, so this actually makes it the first garment I have completed for him (not including ties) and he is looking forward to wearing matching outfits on Christmas day.

Does anyone else make matching outfits for their spouse?

Dixie