Saturday, 4 April 2015

A (finally) finished Capelet, Pants and some Unleavened Bread

So when I got back to working on my capelet for Sew Retro Rose's sew along, I realised I had done my bound button holes wrong. I had sewn the "lips" on to the facing, instead of the outer part of the bodice. Urgh. I contemplated unpicking them and doing it to the correct side, but the teeny tiny stitches I had used when stitching in the ditch around them was going to be a headache to unpick, and I most likely would just end up mangalating the fabric. So I simply decided that when I got to the finishing point, I would just hand sew the 2 sides together as neatly as possible, they are going to be hidden behind the buttons for the most part anyway, right?

I also attempted to embellish the back of my cape with some beading, but didn't love how it ended up looking, so I unpicked it all.

Beaded embellishment

Part way through

There was a lot of hand sewing to finish this garment off, and I may have cheated a little and machine sewed my hem facings down (I didn't line mine) Sorry Beccie!.

Completed!!!

Now that I'm finished the Capelet, I actually like it a lot more. Even Hubby said it looked quite cute, so I may have another go at it with a more expensive fabric. Photos on the Mannequin are all you get for now, I will be modelling the capelet for some better photos tomorrow for the round up post on Sew Retro Rose.

And now, as promised, here are a couple of photos of the pants I made on Thursday. I wore them out today, and snuck a few photos using the mirrors from the new Elsie George store at 94 Vincent st, Cessnock.


The Pants

Back View

Front View

Yesterday for good Friday, we had some of the family over for a feast of fish and unleavened bread. After discovering last year that store bought flat bread actually contains yeast, we decided to have a go at making it ourselves this year. So before anyone arrived, I got to work in the kitchen.  Thankfully it turned out quite easy to make. I made the dough with 1 cup of plain flour, 1 teaspoon of salt, 2 tablespoons of oil and 1/2 cup of water. Kneaded on a floured surface, divided into 8, rolled out and cooked in a dry non-stick frypan. I did try cooking them in the oven at first, but found they turned out too dry and crunchy. As we had 9 people coming, I made 2 batches.


Then I spent today with friends, helping their kids melt chocolate and put it into molds to make their own Easter chocolates. Actually, supervised might be a better word for it, I didn't really help, as I didn't want to get chocolate on my new pants.

Happy Easter Everyone!

Dixie


Thursday, 2 April 2015

And now for a pair of pants...

So if you're having people over the next day for lunch, the house is a mess because you've been rearranging rooms and your husband is asleep as he felt ill, you probably wouldn't think it a good idea to sew a new pair of pants. But you're not me, are you?

Because that's exactly what I did!

It's not quite this bright...
I purchased some navy blue fabric from an op-shop for $2. It reminds me of the fabric men's work shirts are made of, a thick cotton, kinda like denim, but not quite. There ended up being about 160cm of it, but it was very wide fabric, so I had just enough for a pair of full length pants, with pockets and waistband.

I started with my graded up Burda style 6966 pants pattern, but tapered in the leg quite a lot, so I could fit all my pattern pieces on to the fabric. To be honest, I thought they would end up being quite narrow legged pants that I wouldn't have probably liked too much, but they have ended up being very similar to a regular pair of modern jeans in the leg fit. I decided to give flat-felled seams a go for the outside and inside leg seams, and was quite pleased with the results, however, getting right down the second seam on the leg proved to be quite a challenge, and I certainly wouldn't have managed it had the leg been any narrower. If you haven't heard of flat felled seams before, it is a type of seam where there are no raw edges left out, and is commonly seen on jeans and shirts. The interesting part of a flat felled seam is that you start by sewing your 2 pieces of fabric WRONG sides together, which is the opposite of what you would normally do. One seam allowance is then trimmed, and the longer one is folded over it and sewn. Here is a simple diagram that may help explain it better.


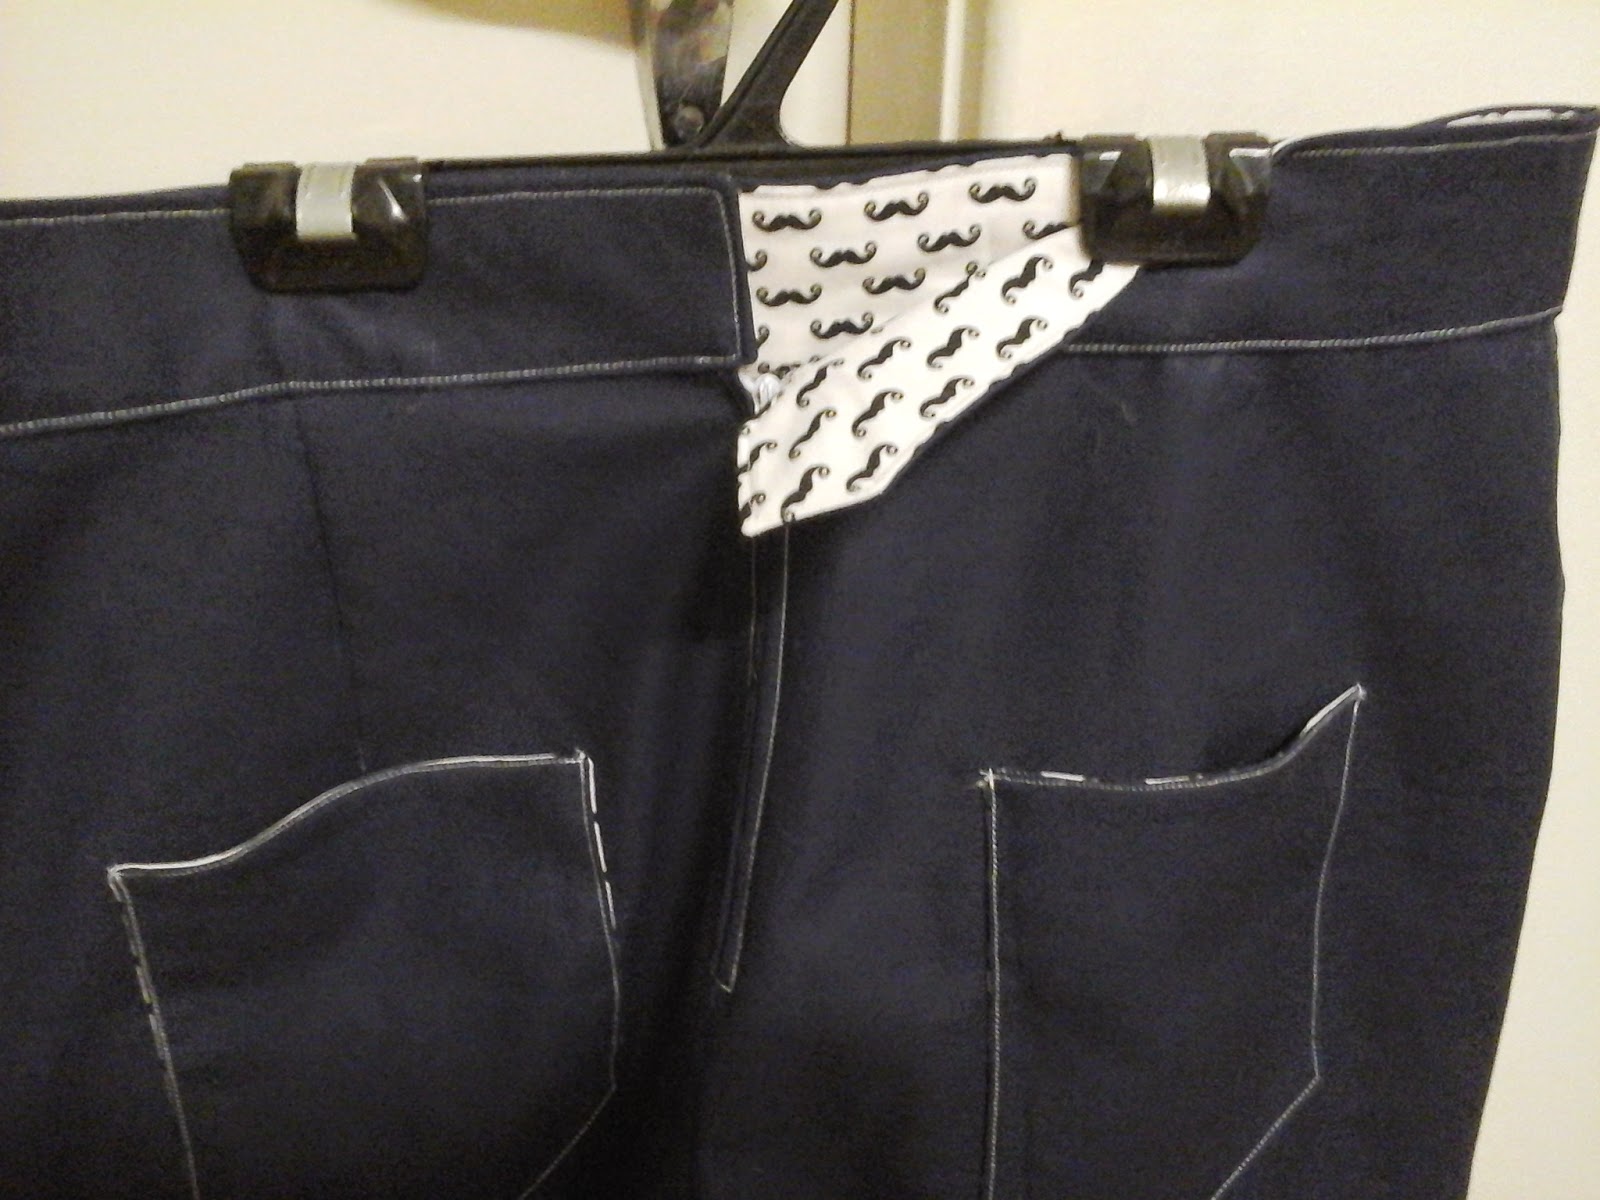
I also added 2 patch pockets to the back of the pants, which I lined with a white cotton with a moustache print. I used the same cotton to line the waist band. I used a regular dress zip in the back, and I'm going to use a single large white button on the waistband.

The Lining Fabric

Back of the pants

Close up of the back, showing the lining

Front view

They have ended up a bit snugger than I'd hoped for, but I can get them done up, so that's all that counts, right? I just can't sit down, hahahahaha.

Ah well, despite the slight fit issue, I love how these pants have turned out, and I'm now much more confident in cutting into my nice denim to make myself a pair of 40's style swing pants. I don't have any shots of me wearing them, as it is now late at night and I'm in my pyjamas. I'l try to get a shot of me wearing them on the blog soon. I still have to put on the button, button hole and hems anyway.

Happy Easter everyone!

Dixie

P.S. Actually, I did manage to sit down in them, and I didn't bust a seam!

Monday, 30 March 2015

Kurri Kurri Nostalgia Festival

So, this past weekend was the Kurri Kurri Nostalgia Festival, which is one of the biggest 1950's festivals in the state (I think?) It started on the Friday, with a retro High Tea at the High School, for which Elsie George Boutique provided all the girls outfits for. I heard the event was a great success, with everyone loving the clothes, food and entertainment. Afterwards we had to pack down the entire Elsie George store ready for the weekend. Rachel ran out of room in her car and trailer so I had the privilege (hahaha) of taking 2 mannequins home with me overnight, to get them to Kurri at 6am for the Saturday. The backseat of my car must have looked interesting to passer-by's, being a jumble of plastic body parts......

It was very early start for all the stall holders to get there and set up. I got there a teensy bit after 6am (while it was still dark) and most people already had their gazebos up.

Here's how ours looked when we first got all the stock set up, but we changed the layout a few times over the course of the weekend.


Obligatory Work Selfie


I did find one rather unflattering photo of me at work on Saturday....

I'm in the background. Again stolen from Gillian Burgess
Definitely not my best angle....

Then when I finally go home on Saturday, I decided none of my existing petticoats would work with my new dress. So being the crazy person I am, I made a new one! I have a roll of sheer white fabric with little red polka dots that I have never used for anything, as it has quite a plastic feel to it. A friend of mine said that it felt like Nylon, so he is probably right. But it worked out great to use for a tiered petticoat as it had a reasonable amount of body to it, and even though it was a very warm day, it wasn't anywhere near as uncomfortable and sweaty as some of my other petticoats.


So here is the whole Ensemble together: 

Completed Outfit ready to go
This was my first time making a matching fabric covered belt to go with a dress, and I love the look it gives. It is also the first time I have used Vinegar to help set pleats in, so I will let everyone know how they hold up after washing. So far the pleats stayed crisp, even after wearing it all day, so I'm pretty sure I will use the vinegar method again.

I didn't get any good full length photos of me in my new dress, but I did take a few Selfies!

Stolen from Mum


SELFIE!!!

Me and Mumsy selfie!!

Walking in the best dressed parade

Unfortunately I didn't place in the Best dressed competition, but given the outfits of the winners, I wasn't surprised. Miss Hilary of Gigi's Retro Closet won first place, in a stunning blue and white vintage dress that belonged to her grandmother. I saw someone comment on this photo on facebook that she looked like a walking china plate, and I have to agree!

Miss Hilary in her Grandmother's Dress
Photo stolen from Elsie George Boutique

So that's it for the Kurri Kurri Nostalgia Festival for 2015! It was a great weekend, but boy am I  glad it's over for another year.

In other News, Elsie George Boutique have moved! We have gone from 170 Vincent st, to 94 Vincent st, in the old ballon worx shop, right next door to Grice's bakery. We are still setting up, but will hopefuly be open again sometime this week!

Dixie O'Dare

P.S. As this was a vintage pattern and stash fabric, I'm counting this as garment number 2 for my Vintage Sewing Pattern Pledge!

P.P.S. I'm also using it for the Spring for Cotton Challenge!


Wednesday, 25 March 2015

Capelet along progress, Plus the start of a New Dress!

So when I finally decided on which fabric I was going to use for this sewalong, I got started on cutting it out right away. I was naughty and didn't make a muslin, as my fabric was so cheap, I wasn't too worried (and couldn't have made a muslin out of anything cheaper) Beccie highly recommends making a muslin in her first capelet sewalong post

All pinned up

Mabel is Supervising


While making her muslin, Beccie added front darts to add more waist definition to the front of the capelet. I have decided to do the same, so after sewing the original pattern darts, I pinned the shoulder and side seams and tried it on. I then put it on my mannequin and pinned in the extra darts.

Adding Darts to the bottom fronts

Added Dart
I then took it off my mannequin, marked the darts with chalk, and added the dart to the pattern piece for future use

Adding the dart to the pattern

Part 2 of the sewalong covers making a pattern for the lining for the capelet. I'm leaving mine unlined, so I'm omitting this step.

Part 3 covers Bound Button holes. I've never done a bound button hole before. I hate doing machine button holes, because they always end up messy, so I was all for giving bound button holes a go. Firstly, I marked the locations of the button holes, on the right front of the bodice.

Marking the button holes

Button hole markings and Buttons
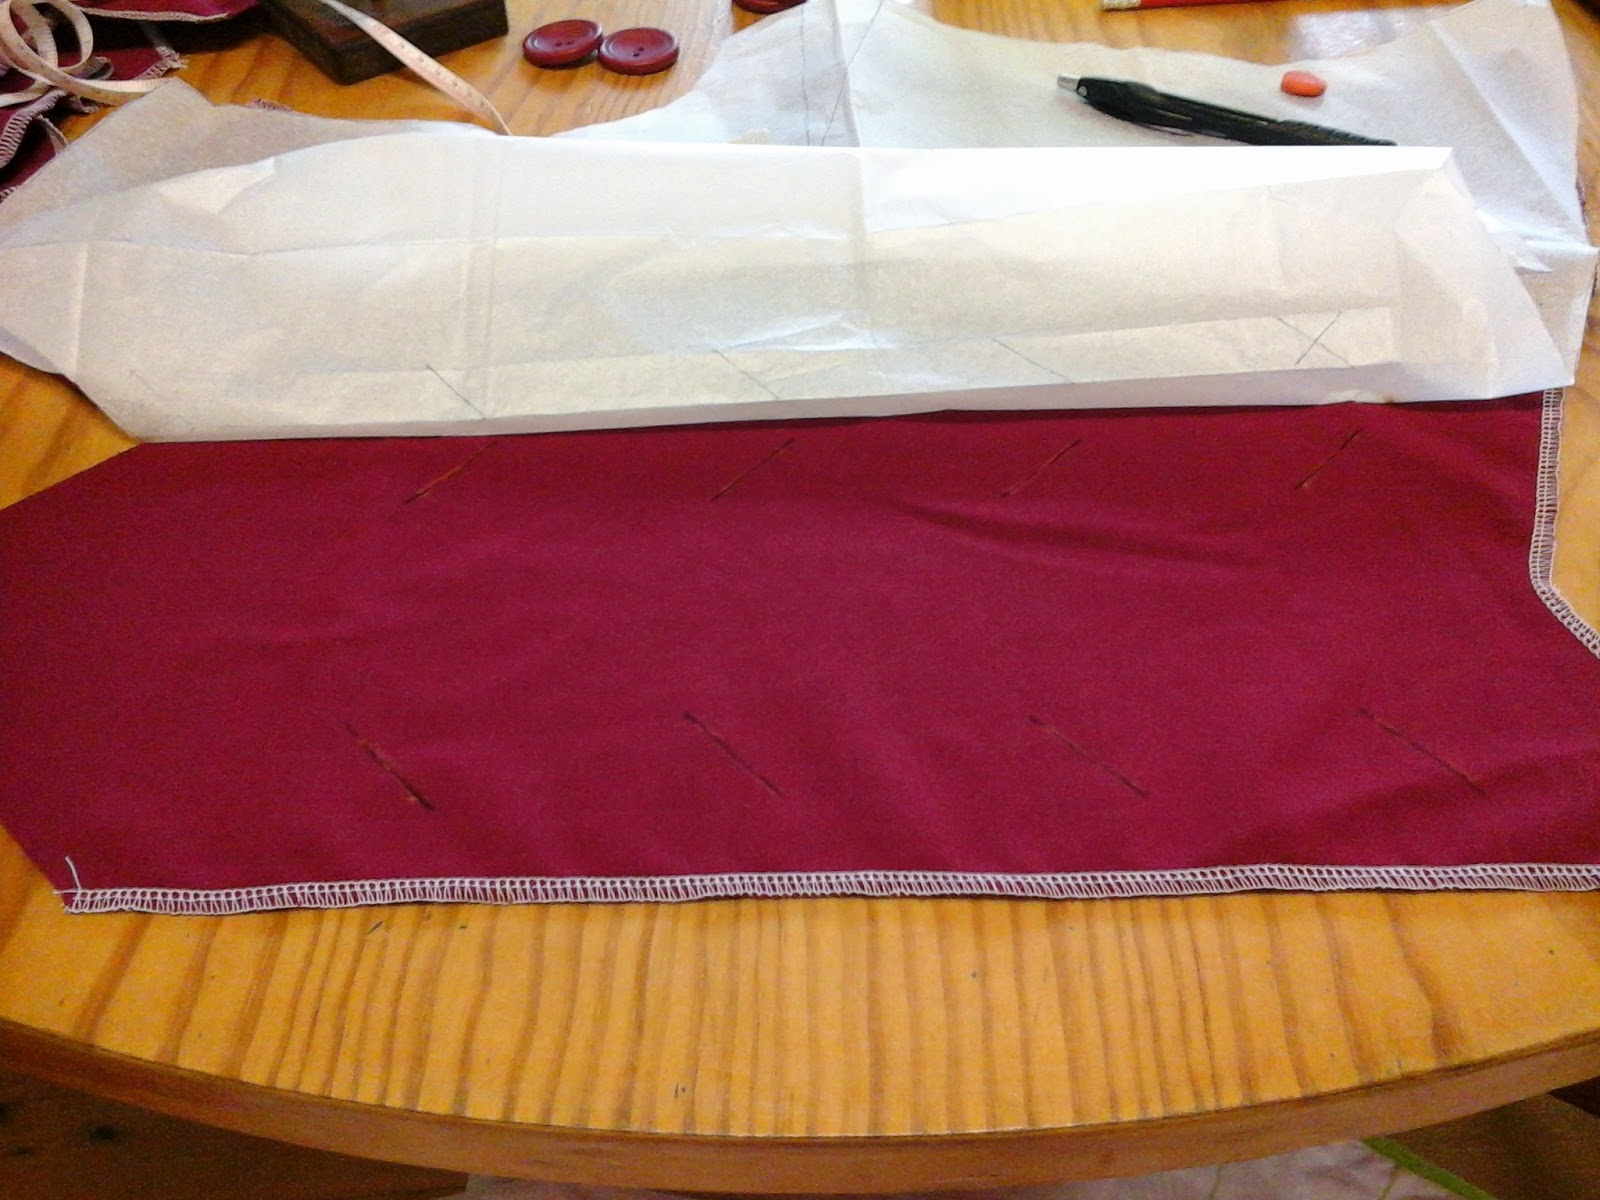
Then I cut out all the 3x3 squares needed, and pinned them in line with the markings on the bodice piece.


Sewed around the marked rectangles


Snipped the inside of the rectangles with my super super sharp snips. I worry I'm going to accidentally cut the wrong thing when I use these, they are just SO SHARP! But I'm glad to report we had no mishaps.


Then I pulled the button hole linings through the holes that I just cut


Then pressed them flat, or as close to flat as I could


Then the lining fabric is folded to create the lips of the bound button holes


Which I pinned


and attempted to sew around the bound button holes by sewing in the ditch.


By this point, I feel the need to say that these bound button holes are not as easy as they look. I thought they would come together easily and neatly, but mine are no where near as neat as I would have liked them. Thankfully, when the buttons are done up, you wont be able to see much of the button holes. I guess they didn't turn out too bad for my first attempt.

At this point I put my Capelet aside, as I realised I hadn't made a new dress to wear to the Kurri Kurri Nostalgia Festival. If you haven't heard about it, it is a 1950's weekend long festival filled with cars, clothes, music, dancing and shopping! I usually make a new outfit or 2 for it, and a few years ago I was lucky enough to win the best dressed parade with a reproduction of a Marilyn Monroe outfit from Gentlemen prefer Blondes.

I recently purchased this 1956 Australian Home Journal for a bargain price, and knew I just had to make that lovely pink dress in the middle


So I graded up the pattern (as usual) but this time I actually did a mock up of the front bodice out of scraps before cutting out my good fabric. I know, right? I never do that!


Though I needn't have worried, it worked fine. So then I cut out all the pieces from a lovely pink rose cotton that I purchased from Lincraft about 3 years ago (See people, this is why you need a good stash of fabrics)


Now I am up to pleating. And I remembered I hate pleating, because it takes sooooo long. Oh well, I guess I have to keep going now!


Anyone here coming to Kurri Kurri Nostalgia Festival? If you are, come find me in the Elsie George Boutique stall and say hi! Or is anyone else reading my blog working on their Capelet for the sew-along?

Dixie


Sunday, 22 March 2015

Sew Retro Rose's Capelet Sew-Along! I'm in! (and late)

Beccie from Sew Retro Rose is hosting yet another Sew-Along, following the incredible success of her Swirl Sew-Along last year. This time around, we are all sewing this Capelet from Decades of Style


As I only work part-time (at 2 jobs) and have a mortgage and bills to pay, I almost gave this one a miss, as the pattern was a little expensive for me, and had to be shipped from the US (which adds to the price again) Luckily, someone I know in the sew-along group (who shall remain nameless) selflessly let me borrow her pattern to trace so I wouldn't miss out. Yay for Sewing Sisters! As this was in January, and some time before the Sew-along would officially start, I made sure I put my copy of the pattern away safely......... A little too safely unfortunately. Beccie started posting the Sew-along steps on February 12, and I couldn't find where I had put the pattern! I searched my sewing room several times, pulling the wardrobe, sewing cabinet, cutting table and pattern filing cabinet apart each time, to no avail! Then, just as I had almost given up hope of participating in the Sew-along, my In-laws gave the husband and I a thoughtful present of 6x4 prints of all our wedding photos. What does this have to do with my sewing pattern you ask? Well, as thoughtful as this gift was (and it sure was) I don't think they knew we had already printed out around 100 of our wedding photos (roughly 1/5 of the lot) and had them in our photo album at home, in my sewing room. A few days later I was looking at the photo prints they gave us, and went and got our existing album to see which ones we had in it and which ones we didn't. Right there, between the pages, was my missing capelet pattern!

IT WAS RIGHT THERE THE WHOLE DAMN TIME!!!!!!!!

So by this point, Beccie had already posted the first 4 steps/posts of the Sew-along, and I still hadn't chosen my fabric yet! So I had a good long stare at (the accessible portion of) my Fabric stash and decided on a lovely dark red Fabric with a beautiful soft drapey feel to it that I purchased from a central coast op-shop on a weekend away


There is about 4m of it, so I will hopefully have enough left over to make a matching skirt or trousers. I realise it is very similar to the red that Beccie is using to make one of her capelets (to which she has added the most divine black lace trim) but I wasn't trying to copy, I swear!

Before I even managed to Finish this post, Beccie has already posted part 5 through 7 of the Sew-Along, so that is all the steps, and now I only have until April 6th to finish! Good thing I have some time off work coming up!

Dixie

Thursday, 19 March 2015

Castaway to Couture - What should I make?

On Monday, whilst out having a girls op shopping day with my grandma and her best friend, I learned about an awesome refashioning competition the Australian Sewing Guild is hosting, in conjunction with Red Cross op shops, that is called Castaway to Couture.

They had a sale of summer stock, fill a bag for $6.  So we all grabbed a few items, grandma and her friend got a skirt each, and a dress for her friend's grandaughter,  I got myself a cute set of silky pyjamas with blue birds on them, and this:


A black formal dress, with loads of fabric, beaded lace, boning and a zip to reuse. Plus it just happens to be (almost) my size!  Its a bit tight at the hips and quite loose at the waist, but it's not my style so I wouldn't wear it even if it fit perfectly.

As soon as I got around to taking these photos, I took to it with the seam ripper. The whole dress is lined, and the bodice also has another layer of white fabric attached to the lining on the inside. Unfortunately, the beading is applied to the lace and the outer fabric together, so I wont be able to unpick the lace without the beads and sequins going everywhere. I still haven't decided if it will be worth the effort to reapply all the beading myself or not.

I've had a bit of a scribble for ideas of what to refashion the dress into. Naturally, I mostly came up with 1950's style dresses. As I want to make it look like a completely different garment, I'm toying with the idea of making pants or a (formal?) playsuit, but as I want it to be a garment that I will get wear out of again, a 50's dress is probably going to be the best option.

Anyone have any idea of what they think I should make from this dress?

For more info on this competition, head to the Australian Sewing Guild Website

Dixie O'Dare

PS My Macarons came second (out of 3) at the group competition yesterday, but our branch got a few firsts, seconds and thirds all up!