
With Easter almost upon us, I thought I would take a bit of time away from sewing pretty dresses, and decorate myself a cute Easter Basket instead. Then I thought, even better, how about I make a tutorial for it? I hope you enjoy it!
To begin, you will need:
A basket


I picked mine up last weekend for $2 from an op-shop. I specifically wanted a rectangle base basket, as all the ones I have are round, but this tutorial will work for either.
Some pretty fabric

A lightweight cotton, or even a satin would probably be best, I've chosen to use this piece of lovely pink and white seersucker that I picked up for 50c from an op-shop some time ago, but haven't used yet, as there wasn't enough there to sew a garment from. Depending on the size of your basket and the width of your fabric you may only need less than 1/2 a meter.
Some ribbon

I didn't have any matching pink ribbon in my stash, so I've gone with a white one
Bias Binding

Again, I didn't have a matching pink, so I went with white
Also needed: Some newspaper or tissue paper, a marker or pencil, paper scissors, fabric scissors, measuring tape, sewing machine, some wadding (optional)
Steps by step instructions:
To make yourself a pattern for the base of your basket, use a piece of tissue paper or newspaper, and lay it in the bottom of your basket, using your fingers to crease the paper into the corners.

Using a marker or pencil, trace around the bottom of your basket
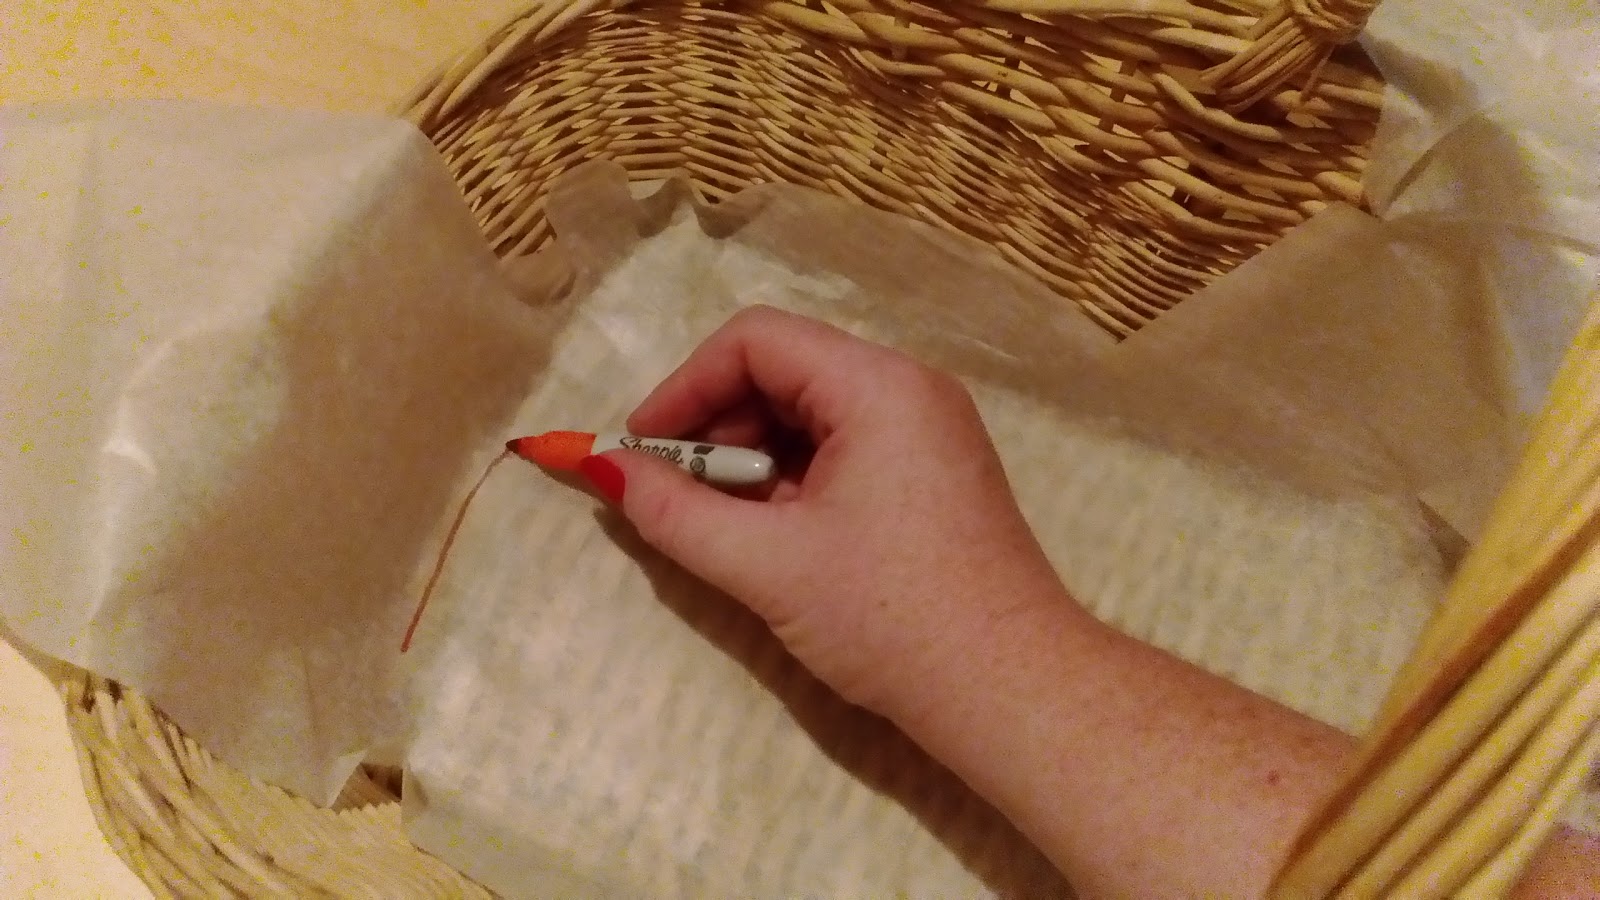
Take the paper out of your basket and trim, leaving about a 1/2 inch seam allowance (or however much you prefer) This is now the pattern piece for the base of your lining.

Now measure the depth of the sides of your basket. Mine is deeper where the handle is and shorter at the ends. A basket that is the same depth all the way around will make this part much easier. You will also need to measure the outside edge of the base piece.


My Basket's base is 36 inches around, and my side depths are 3 inches at the lowest and 5 inches at the highest. As my piece of fabric is not huge, I am cutting my piece in 4 pieces and sewing them together, but if you had a long piece of fabric you could do it in one. You want a piece that is about 3 times the length of the circumference of your base piece, for a nice fullness in the gathers.
As my base was 36 inches around, I needed 108 inches in length, with the width varying at points for my 4 sides of the basket. The scribble below shows my planning for cutting, although I added seam allowances to the end making it 6 and 4 inches instead of 5 and 3.

I cut this out of my fabric twice (there's 2 layers of each piece in the below photo) As well as 2 layers for the base piece.

I then sewed them all together in a big loop, making sure the flat edge was all at the bottom.

Using my machine's largest stitch setting, I stitched along both the top and bottom edge, then pulled the bobbin thread along the bottom edge (leaving the top for later) to gather it up

Pull the gathering in until it is roughly the same size as the outer edge of the base piece, and distribute the gathers evenly

Pin your gathered loop to 1 of the base pieces, I used my 4 seams to line up with the centre of each edge, making sure the shorter ones were on the ends, and the deeper sides were pinned to the longer sides.

Pin all the way around, adjusting the gathers if necessary, and sew together

Pin the other base piece on top (right side facing in) and sew around, leaving 2-3 inches of one side open to turn through (to be honest I should have left a bigger opening, I struggled to turn mine out)


Cut a piece of wadding a bit smaller that your basket base.

and insert through the opening. It may take a bit of tugging and poking to get it to lay nice and flat where it is supposed to.


Pu your lining into your basket and pull the gathering stitches along the top edge so that it fits well along the edge. Distribute the gathers evenly around and tie of the gathering stitches so that the size wont change when you take it out and handle it to sew the binding on.

Sew the binding around the top. I haven't taken any progress step by step photos of this, but there are numerous tutorials out there for sewing on binding.

You could finish there if you like, or you could glue your lining down along the edge, or hand stitch it in place, like I originally planned to. Or you can use 2 ribbon ties at the handles to hold the liner in. I cut 2 pieces of 9mm wide ribbon, approximately 30 inches long. This will vary depending on the size of your basket.

Pin the centre of the ribbon to the middle of the liner edge (or wherever your handle are located) I sat my liner in my basket to check placement, then used my machine to sew the ribbons in place.

Put your liner in your basket and tie the ribbons in bows. My bow tying skills leave a bit to be desired......

Then fill with Easter treats! I clearly need to buy more! Or use a smaller basket.

You could add some lace along the edge if you wanted to, or even decorate the handle with some fake flowers. I've left mine quite plain so I can use it all year round, and through into the wash if it gets dirty.
I hope you have enjoyed my little tutorial, I would love to know if anyone uses it to make a basket liner, for Easter or any other time of year!
Happy Easter!


