After finishing off my Kirtle and Chemise to wear to Winterfest, I knew I was going to need something to wear over the top, as it was in the middle of winter. So I decided to make myself a cloak, with a faux fur lined hem and hood. I chose this light green/brown fabric from my stash, which I am fairly certain is wool or a wool blend, and some grey white faux fur.
I initially wanted to make the cloak a full circle, and I thought I had enough fabric to do so, but after I cut the first semi-circle, I realised I did not actually have quite enough.
Bummer.
However, I grabbed the piece I had cut, draped it over my shoulders, and realised I could get away with the half circle instead. Which also meant there would be half the hem to attach the fur to. Win win I think. So I then used the leftover corner section from cutting out the semi-circle, and roughly pinned out a hood shape. I checked the measurements against myself, making sure it would be nice and oversized, then cut it out. I also cut 2 strips approx 2" x 14" for ties at the front of the neck. All in all, I used just over 3m of fabric, So I still have about 2.5m left for other projects.
Cutting Diagram:

I began construction by machine sewing the 2 sides of my hood together along the back seam. Once I had sewn it, I then hand sewed each seam allowance down, pressing the seam open and folding under the raw edges. This gives a neat finish, concealing the raw edges, and is also somewhat period correct. I then eased the bottom edge of the hood to the neckline of the cloak body. To neaten this seam, I trimmed the excess allowance from the curved neckline edge, then pressed both seam allowances downwards, folding the seam allowance from the hood section under, concealing both of the raw edges. The front edges of the hood and cloak do not need to be hemmed, as I have utilised the neat selvedge edge of the fabric, which will not fray.
I then used a ladder stitch to fold in the edges of the strips to create the ties.

Then came the messy part
Sewing with Faux Fur!
I began by measuring how long the hemline on the cloak was.
I then cut four 5 inch strips of fur, joining them together at the short ends, ensuring the pile of the fur was all going in the same direction.


Then of course I had to try the whole outfit on and see how it looked! These were taken at night, so the lighting isn't great. Also, excuse my blue shoes!


I still haven't added the fur trim to the hood, but I do have just enough left from the hem to do it, so I will probably add it on a bit later. In the end, I am glad I only made this a half circle cloak, as I would have had to cut my fur strips half as wide, which I don't think would have looked as good. Also, it would have made the cloak a fair bit heavier too, and it is already pretty heavy.
As I only have shoulder length hair, I thought it would be difficult to style my hair into a medieval hairstyle, so I thought it would be easier to just shove my hair up into a coif. I used some calico scraps and this tutorial, which I found through pinterest. The process was very simple, and very similar to my regency bonnet, just without the brim and the bias ties. I used a rectangle 14" by 25" (folded in half lengthways, with a slight curve cut out of the long edges) and a oval-ish circle with a circumference of about 40" and hand stitched the whole thing together during my lunch hour at work, as well as some time that evening while watching a movie with my mother

The ovalish crown is gathered and sewn to the rectangular piece. I sewed one side of the brim to the crown at a time, so that I could encase all the raw edges inside the brim. A good press, then it was ready to go! I divided my hair into 4 sections, which I then plaited and pinned across each other with Bobby pins. This held my hair fairly neatly and flat all day under the coif.
Here is a photo from Winterfest with the brim folded back (and a unicorn)


Watching the Jousting


Lauren and I both managed to win free passes for next year's Winterfest in the Costume Competition, so we will have to make even more impressive outfits for next year's event!
Dixie
Cutting Diagram:

I began construction by machine sewing the 2 sides of my hood together along the back seam. Once I had sewn it, I then hand sewed each seam allowance down, pressing the seam open and folding under the raw edges. This gives a neat finish, concealing the raw edges, and is also somewhat period correct. I then eased the bottom edge of the hood to the neckline of the cloak body. To neaten this seam, I trimmed the excess allowance from the curved neckline edge, then pressed both seam allowances downwards, folding the seam allowance from the hood section under, concealing both of the raw edges. The front edges of the hood and cloak do not need to be hemmed, as I have utilised the neat selvedge edge of the fabric, which will not fray.
I then used a ladder stitch to fold in the edges of the strips to create the ties.

Then came the messy part
Sewing with Faux Fur!
I began by measuring how long the hemline on the cloak was.
I then cut four 5 inch strips of fur, joining them together at the short ends, ensuring the pile of the fur was all going in the same direction.

Which I then pinned, right sides together, along the hemline. Once it was all pinned, I machine sewed along that edge, then turned the fur to the inside and handstitched up the other edge, trimming the excess from the ends and turning them in to conceal all raw edges.

Then of course I had to try the whole outfit on and see how it looked! These were taken at night, so the lighting isn't great. Also, excuse my blue shoes!


I still haven't added the fur trim to the hood, but I do have just enough left from the hem to do it, so I will probably add it on a bit later. In the end, I am glad I only made this a half circle cloak, as I would have had to cut my fur strips half as wide, which I don't think would have looked as good. Also, it would have made the cloak a fair bit heavier too, and it is already pretty heavy.
As I only have shoulder length hair, I thought it would be difficult to style my hair into a medieval hairstyle, so I thought it would be easier to just shove my hair up into a coif. I used some calico scraps and this tutorial, which I found through pinterest. The process was very simple, and very similar to my regency bonnet, just without the brim and the bias ties. I used a rectangle 14" by 25" (folded in half lengthways, with a slight curve cut out of the long edges) and a oval-ish circle with a circumference of about 40" and hand stitched the whole thing together during my lunch hour at work, as well as some time that evening while watching a movie with my mother

The ovalish crown is gathered and sewn to the rectangular piece. I sewed one side of the brim to the crown at a time, so that I could encase all the raw edges inside the brim. A good press, then it was ready to go! I divided my hair into 4 sections, which I then plaited and pinned across each other with Bobby pins. This held my hair fairly neatly and flat all day under the coif.
Here is a photo from Winterfest with the brim folded back (and a unicorn)

And another selfie, but this time with the brim unfolded, to keep the sun out of my eyes.

Of course my friends, my husband and I all had lots of fun at Winterfest. They Birds of Prey display was much bigger this year than the last time I attended (way back in 2009) This little guy pictured is Brian, and it was his first show.

Here is Lauren getting to hold Zorro, who is the same bird I had a photo with back in 2009.

Steve having a go at Archery.


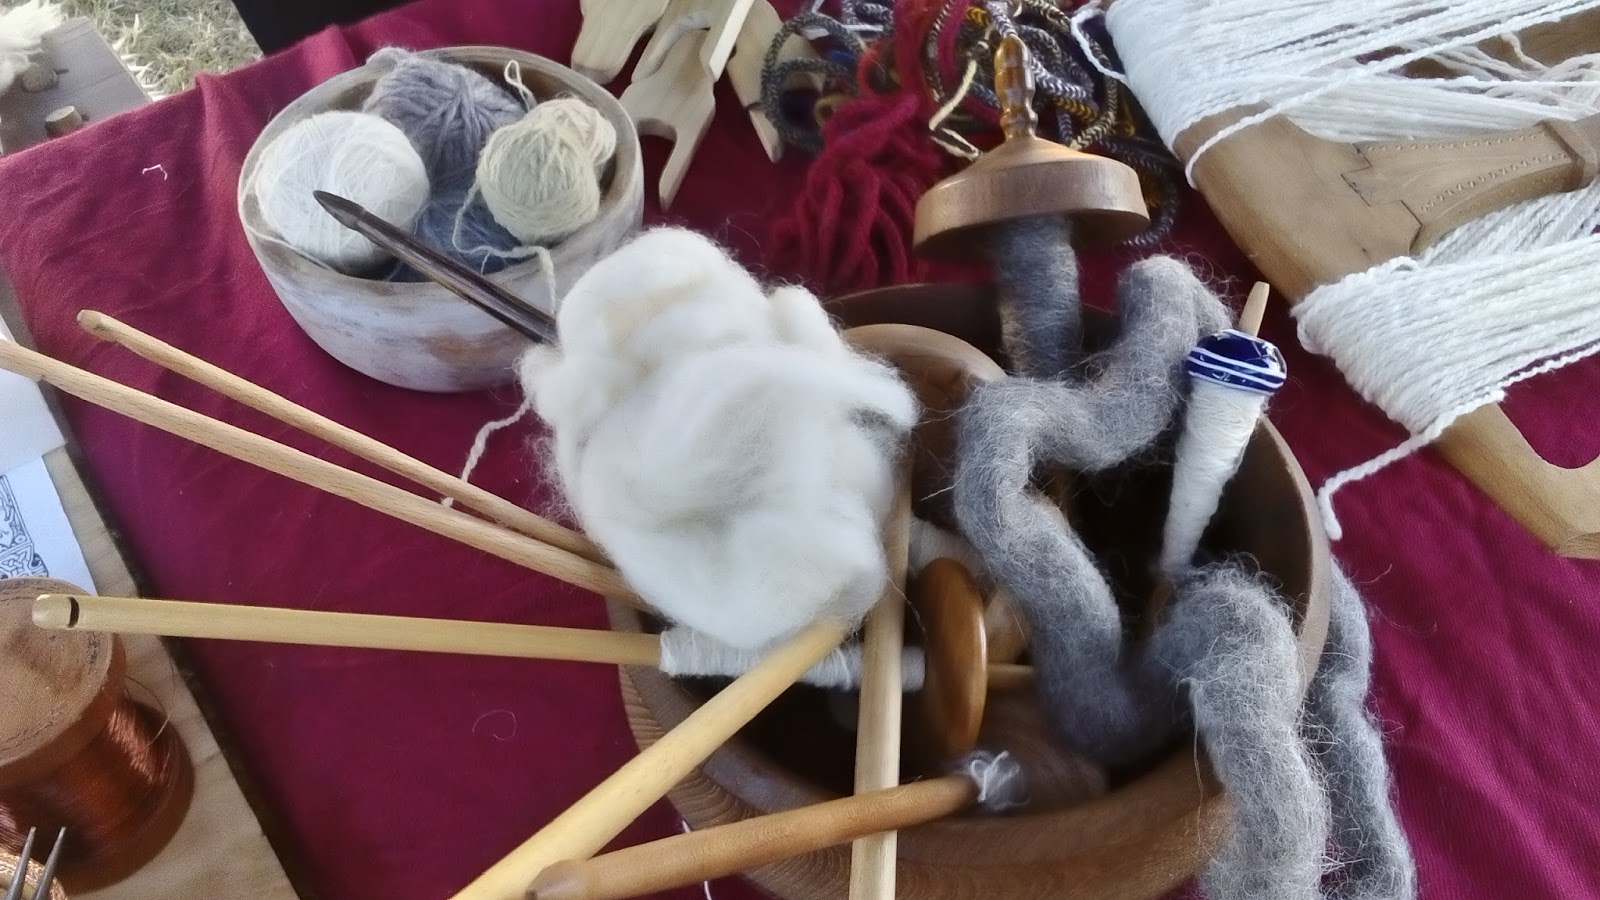
I also got to have a go at a few medieval/viking handicrafts, with a re-enactment group from the Blue Mountains. Including Viking wire weaving, loom weaving, drop spinning, fork knitting and more!


 |
| Photo by Cliff Dorian |
 |
| Photo by Cliff Dorian |
Lauren and I both managed to win free passes for next year's Winterfest in the Costume Competition, so we will have to make even more impressive outfits for next year's event!
Dixie
Great outfit and looks like a great day too. Last night I finished a dress and headpiece for my daughter to wear at Abbey fest this weekend ;o)
ReplyDeleteIt was fantastic, and the weather held out, so it was a perfect winter's day. I really enjoyed the process of researching and making these medieval costumes, I hope you daughter loves what you've made and has a great time too :)
DeleteI just looked up Abbey Fest, and I think my dad is going to that this weekend also! He mentioned last night that he was going to a medieval festival near Bribie Island this weekend! What a small world (I doubt he'll be in costume though)
Delete