Thursday 29 October 2015

Sun Frock Sew-Along Part 3

Trim and Bodice Construction

In case you need to go back Part 1 is here and Part 2 is here

and now that it has been posted, Part 4 is here

Yay! We're finally up to the fun stuff!!!

To start off with we are going to encase our piping cord in our bias binding. If you are using lace, ready made piping or some other type of trim (or no trim) you can skip this step.

This can be a little tricky if your binding is narrow, but luckily, this stitching will be hidden later, so no pressure to get it neat and straight. Unwrap you binding from it's cardboard (which it already should be if you've prewashed it) and unfold the end with your fingers. You may wish to iron it flat at this point, but I don't bother


Place the piping cord in the middle, with a little bit overhanging the end.


Pinch the bias binding around the cord and hold the edges flat and pin.


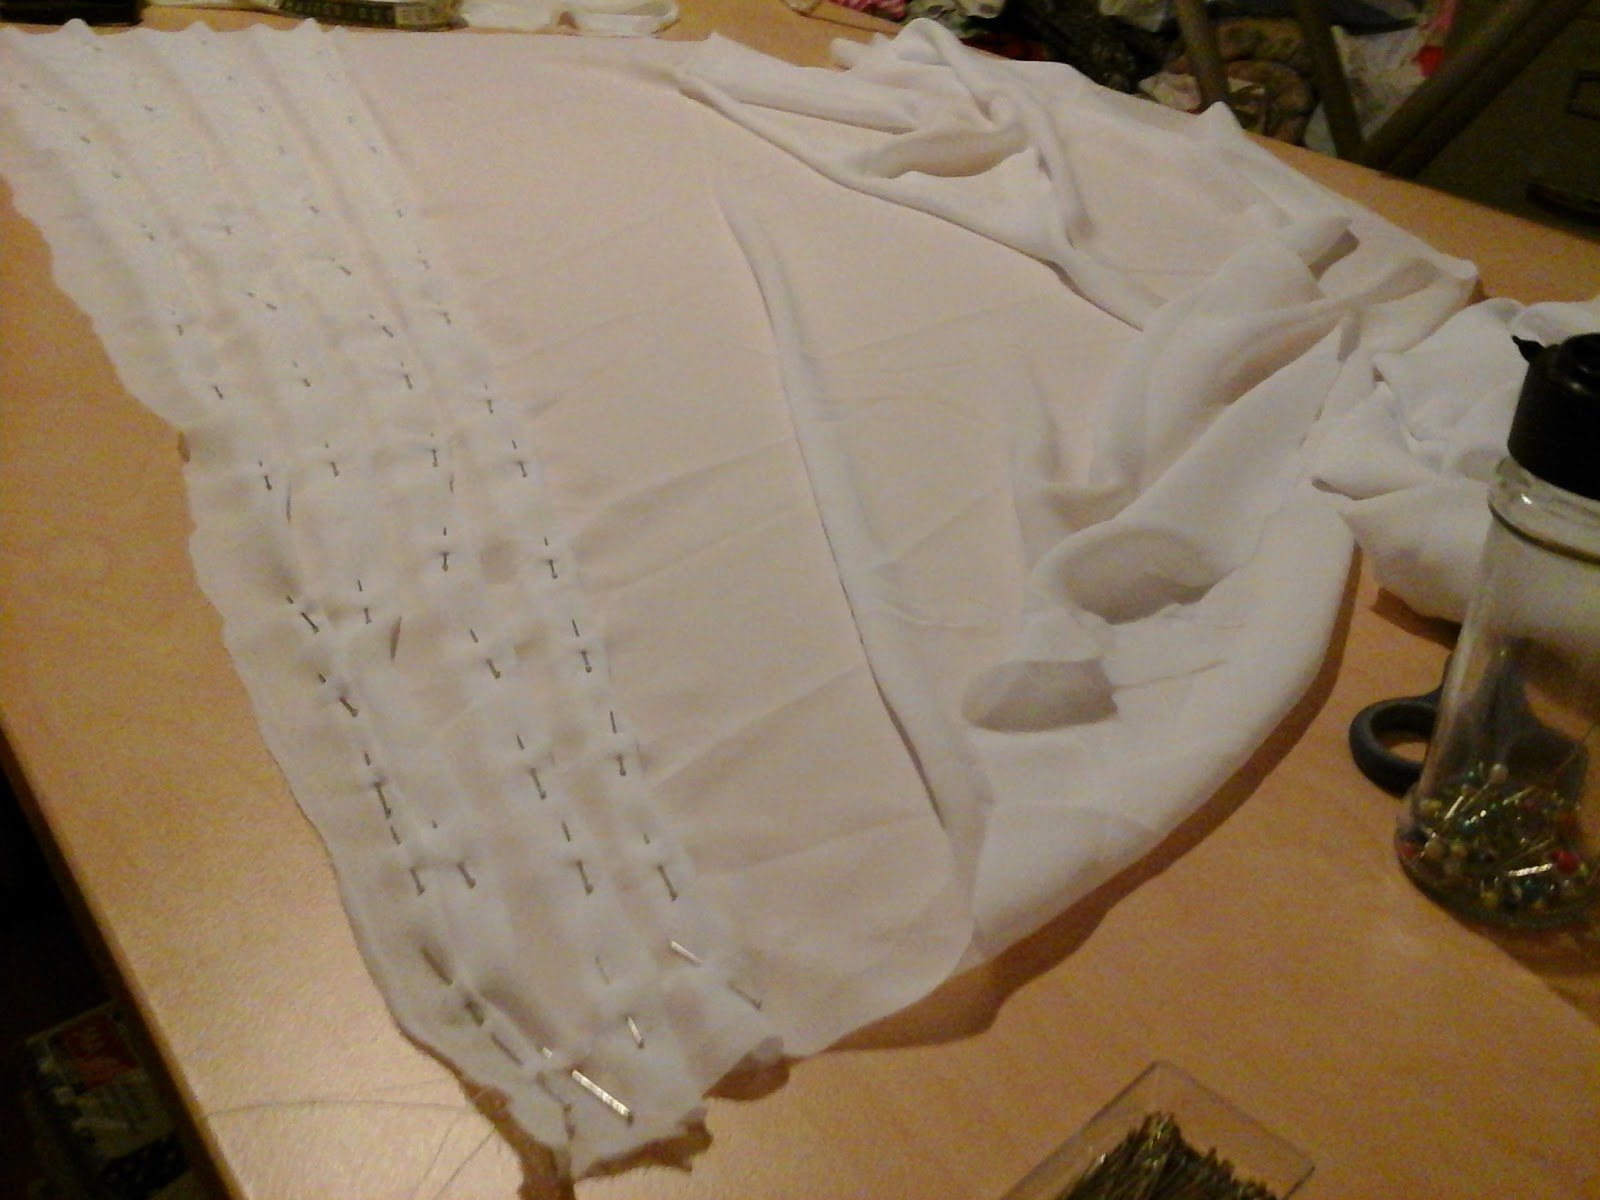
You can just start sewing it at this point at arrange the binding around the cord as you go, or if you prefer you can go ahead and pin it all the way along. I like to sew across the piping cord an the end to anchor it, then sew down the length about 2-3mm from the piping so that the stitches will not be seen later. Once you get to the end, make sure the piping cord is sitting evenly within the bias and stitch across the cord to anchor it again. Now put this aside for later.


As is usual for most bodice construction, start by sewing the darts in the front and back pieces. I like to mark the point and the edges of the dart with tailors chalk, fold my fabric so the edge marks line up, put in a few pins and start from the edge and work in towards the point. Generally I sew my darts in a slight S shape, but you are free to do what works for you. Finish off the point nice and gradually, no you don't get the dreaded "nipple" of fabric at the end. I think the general rule for finishing the end of your dart is to not back stitch, but to run straight off, then to tie the treads together before you trim them. Beccie from Sew Retro Rose once mentioned she likes to use teeny tiny stitches for the last little bit of her dart for extra security, and I have been copying her ever since!


Once your darts are sewn, sew the side seams (seam allowance is 1/2 inch), and check the fit. This is best done with another person to help, but I generally hold the garment onto myself and check a mirror. Make sure there is plenty overlap in the back if you are using buttons, and make sure the bottom of the bodice hits at about your natural waist line (remembering seam allowance and that the weight of the skirt will pull it down a little bit) If you feel you need to shorten the bodice you can do so now, or if you need to take in the side seams a bit, or lower the underarm edge. If you do make changes to your side seams or underarm edge, make sure you copy these changes onto your trim pieces. Sew the side seams in your trim, then spend a bit of quality time with your iron and press all those darts and seams that you have sewn so far.


Now for the fiddly bits! Take your piping and pin it to the bottom edge of one of your trim pieces (I chose to sew it to the facing pieces first, but it doest really make any difference) You could at this point sandwich your piping between both sides of your trim and sew the lot together, but in an attempt to get it as neat as possible, I am sewing one side first, then sewing the other one on top. Your piping meeds to be pinned to the right side of the fabric, with the cord on the inside and the open edges of your bias just in from the edge of your fabric. Try to line it up so that you will be ending up with a 1/2 inch seam allowance.


Try you best to pin carefully around the scallops


Sew the piping on, just inside of the stitching line you already made on the piping. Lift your presser foot with your needle down to pivot and sew across your piping to anchor it down, then trim off the excess (which you will use on your pockets later)


Now you want to place the other side of your trim on top so the right sides are facing in. Turn this upside down, so the piece you just added is on the bottom and your previous stitching is visible, and pin.


Now you are going to stitch about 1-2mm in from your previous stitching line. As you stitch along on your sewing machine, you should be able to feel with your fingers where the piping cord is laying, and you want to stitch close to that, but not into into it.


Now clip along those scallop curves, making sure you don't cut through the second stitching line.


Turn your piece right side out and press. If you want to top stitch along the piped edge, now would be the time to do so. Then feel free to pin it on your mannequin with your bodice and admire your handiwork.


Now sew your shoulder straps down one side making them into tubes, turn right sides out and press.


Next up, sewing your trim to your bodice. The easiest way to do this would be to pin and sew your trim with it's right side against the WRONG side of your bodice, with your shoulder straps pinned in place between the trim and bodice. Clip the curves, turn the trim the the outside and press.


HOWEVER

I don't like raw edges if I can help it, so I will be sewing my trim on to conceal all the raw edges at the top. To start with, I have pinned the underside of my trim to the right side of the bodice and sewed it on.


Next up is where it gets a little tricky. you'll need to clip the underarm curve of all 3 layers (including the one you haven't sewn down yet) then with your iron, press the seam allowance of the bodice and underside of the trim down so that it will be between both layers of the trim.


Then, as neatly as you can, fold the seam allowance of the outer side of your trim into itself and press. 


Pin your shoulder straps into position, checking for fit as you do, and pin along the rest of the top edge. Carefully topstitch through the trim and seam allowances only, leaving the bodice and shoulder straps free.


Give the whole thing a nice press, then put back on your mannequin/clothes hanger/pile in the corner, ready for next week when we will be sewing on the skirt and pockets, plus all the finishing touches (such as the dreaded buttonholes)


(Ok, I confess, I did not press mine just now...)

Dixie

Part 1 of the Sew-Along can be found here
and
Part 2 can be found here

Monday 26 October 2015

Sun Frock Sew-Along Part 2

Welcome to Part 2 of the very first Miss Dixie O'Dare Sew-Along!
In today's post we are going to cover pre-treating fabric and finally cutting into your fabric.

Pre-treating your fabric will depend on the fabric you have chosen to use for your Sun Frock. Generally speaking, it is always advisable to wash your fabric before cutting and sewing with it. A lot of the time modern fabric is much more colour fast that vintage fabric, but it isn't always the case. This goes for your trim as well. If you are using a brightly coloured bias tape or trim, a gentle handwash before will hopefully get rid of any excess colour that may bleed out when you wash your dress. Pre-washing will also deal with any shrinkage the fabric may have. Nothing worse than putting in the effort to make a new dress just to have it shrink a size or 2 in the first wash. However, if you are using a slippery or particularly drapey fabric, you may wish to starch your fabric to make it more stable and workable

My Vintage Fabric has already been pre-washed with some other floral fabrics a few months ago, so I don't need to wash it again, But I am washing my bias, as it is quite a dark colour and I would hate for the colour to run. As it such a small, easily tangled piece of fabric, I am hand washing it in a basin, and I have dissolved a spoonful of salt in some hot water and added that to the wash. This is a trick I learned from my Grandma, and it's supposed to help keep fabric colourfast.


If you are unsure about the fit, please make a muslin out of some scrap fabric to test. You should really only need to check the front and back bodice pieces, remembering that there needs to be 2 inches of overlap plus seam allowance at the back.

I have tried my best to write cutting directions on each pattern piece (as in how many to cut out) the pattern pieces do not come with grainlines, however, it is generally advisable to use centre seam lines as a guide, or just your best judgement. The fabric cutting layout guide included with the pattern should also give you a pretty good idea of what way they lay on the grain. I was hoping we could all get away with not having a seam down the front of the skirt, however it looks like only the smallest size or 2 are going to manage that, without cutting the skirt pieces perpendicular to the grain. If you cannot cut perpendicular to the grain, you will need to cut your skirt pieces with a seam down the centre front, and don't forget to add the seam allowance. Depending on your fabric, and whether it has a directional print or not, you may or may not be able to cut some pieces up side down to use your yardage as economically as possible.

As I am making my skirt a bit wider to accommodate by generous derrière, I have decided to cut my pieces perpendicular to the grain. While this will make my Floral print run sideways, I figure if I cut the whole garment that way, it won't be noticeable. I did have to cut the scallop trim in the other direction, but I don't think it will be too noticeable I had 3m of fabric and it was the perfect amount, even with the wider skirt. I also cut my shoulder straps a little longer than the pattern piece, just in case (I can always trim it off later) I also cut 4 pocket squares, instead of 2, so I could self line the pockets. I have also made my usual short waisted alteration to the bodice pieces, shortening them by 1 inch.

When I was cutting out the skirt pieces, I accidentally cut into the center fold of the skirt front. It's down near the hemline, so I will zig zag over it and I will probably be the only one who notices it. Well and you guys too I guess.


Of course if your prefer to make a different style of pockets for your dress, go ahead and cut those out instead of the included pattern pieces. As the basic design of this dress is so simple, it has unlimited variation possibilities. There has been some discussion in the facebook group about Christmas dresses, so I am now thinking how cute this dress would be made in plain red with white trimming on the bodice (leaving off the piping) as a sort of Mrs Claus dress. But I already have some cute Gingerbread house print cotton to use for a Christmas Dress this year.


At this point, if you want to finish the edges on some of your pieces you can. I like to overlock around pretty much anything (leaving out edges that will be encased) but some of you may wish to use more vintage methods such as pinking shears or zigzagging. Also, if you prefer you can leave this step until partway through construction. I like pressing most of my seams open, so I like to overlock them separately. At this point I have overlocked around the facing pieces, the skirt pieces and the side edges of the front and back bodice pieces. I will overlock the bottom edge of the bodice pieces after I have sewn and pressed the darts.


Next post we will finally be up to sewing! Yay!

Dixie


Wednesday 21 October 2015

THAT White Dress.... (Construction details)

So I needed a white outfit for a White themed party. I had searched through my wardrobe, all the local op shops, as well as the local clothing stores and found nothing I liked.

And then my friend innocently suggested, why don't I make a replica of Marilyn Monroe's iconic White dress from the Seven Year Itch.

I admit it has been something that I have wanted to make for a long time, but have put off, partly due to the effort that would be needed for the pleating, and partly because there are already so many shoddy versions of this dress out there, that I didn't want to try until I could give it the time and effort it deserved to get as accurate as possible.

I do however have this book, Sew Iconic, which contains a pattern for the dress.


At first, I was pretty happy with this version, as it has the pleating and the multiple belt/ties at the midriff, so was a lot better than some other patterns to begin with. But I still ended up nearly redrafting the whole thing, to make it the way I wanted, but found it to be a pretty good base. I was initially pretty hesitant, as I couldn't find much in the way of reviews of the pattern itself, plenty on the book, but not how the patterns went together, but spent some time looking over the pattern, as well as pictures of the original dress and decided to go ahead, making changes as I went.

First up, the arduous task of tracing out the pattern pieces from the large, overlapped pattern sheets. This was awkward and time consuming, but not very difficult, as each line is made up of the initials of the actress who's dress it was, making it easy to discern between pattern pieces.


Next up is the grading up. This might seem like a drawback to purchasing this book, as all the patterns are one size, but as I am use to grading up my vintage patterns, this one was no different for me.

At this point I hadn't actually chosen a fabric..... I had nothing suitable in my stash, and couldn't find anything in town (I scoured the op-shops and even tried the sewing emporium to see if it was open, nope) Luckily, Lincraft was having a 50% off dress fabric sale, so everything hung on whether I could find some suitable fabric at Lincraft after work on Thursday (a mere 8 days out from the party! I decided on a lovely drapey georgette, that was only slightly sheer. which worked out at only $4.99p/m.


After looking very hard at many photos of the dress and at the pattern, I realised this pattern was actually only a basic circle skirt with pleats pressed in for decoration, the waist;line is not actually pleated when it is sewn up. Photos of the Travilla dress clearly show that the skirt was indeed pleated, so a regular circle skirt just wasn't going to cut it for me. It is very hard to tell if the dress was actually a circle skirt, as the pleats do not seem to get drastically wider at the hem of the dress, and in Travilla's pattern notes he does write "half circle skirt sunburst". Even though pleating a circle skirt seemed a bit daunting, I was worried that if I did make it a half circle skirt, that it just wouldn't have that delicious swishy-ness of the original dress, I mean what if by "half circle skirt sunburst" he just meant the pattern piece, and it was actually made with 2 of those pattern pieces? So I went with a large circle skirt, with a waist measurement 2 times my own, to pleat it in on itself. Travilla's notes mention that the skirt was 39" (although I now think that may have been the radius of the circle before the waist was cut from it) So to get a skirt 39" long with a waist measurement of about 72", I had to cut 2 semi-circles with a radius of 50 inches!!! Now as I hadn't thought all this out before buying my fabric, I only purchased 3m (the pattern calls for 2.5) so after cutting out only 1 side of my circle skirt, I ran out of fabric and had to make another dash to Lincraft to buy more. Normally I plan these things out better, but being in such a rush, I didn't think things through thoroughly, and this is what happens, wasted time and fuel.


After getting both the front and back skirt pieces cut out, I turned my hand to the bodice pieces. From the original pattern, I Increased the width of each by about 3-4 inches, increasing the underarm section so that it wrapped further around the body than the one from the pattern. This pattern calls for gathering on the bodice pieces, but I really wanted the pleated look of the original dress from the movie, so I marked where I wanted the pleats and folded my pattern piece into pleats as a test. I quickly realised I needed more coverage on the underarm side of the bodice, and I also needed to extend the top of the piece to reach around to the back of my neck.


I began pleating the bodice pieces first, which was a complete nightmare, as they were small pleats, starting at 1/4 inch at the top and becoming 1/2 inch at the bottom. As the pleats were slight sunburst pleats, this meant most of them were not on the grain, so it took a lot of pins to hold them in place.


Each side was then pressed to set the pleats, using a solution of 1 part white vinegar and 4 parts water. I usually use a spray bottle of this solution when setting pleats, but when I tested this on a scrap, it caused a few little brown marks on the fabric. To resolve this issue, I had the solution in a bowl and dipped a pressing cloth, or in my case a scrap of white cotton, which I then wrung out as best I could and laid over the pleats and pressed with the iron on a wool setting. I pressed the first side with the pins still in the fabric, but this has unfortunately left the pinholes in the fabric. For the rest of the pleating I removed the pins in small sections as I went, and re-pinned the pleats only in key areas to keep all the pleats neat.


The pleating of the skirt pieces was a long arduous process, Using up nearly all of the brand new packet of 200 pins I had purchased for this project. I was initially going to try to measure everything and make the pleats as even as possible, but due to the bias movement of the georgette, that just wasn't going to work. Instead, I folded my skirt pieces lengthways a few times and pressed lightly to give me a few guiding sunburst lines, then proceeded to make the pleats in the fabric by eye. The pleats were supposed to be smaller at the skirt top, but things didn't quite work out that way, so when the skirt needed to be shortened a bit (as it ended up much too long) I shortened from the top of the skirt pieces so that they would fit around my waist without having to let out any pleats.


Here is one of the back skirt pieces half pressed, showing the drastic difference in the fabric once it is pressed.


Once I had sewn the Bodice pieces to the bodice lining pieces (which I had hand drafted off the pleated bodice piece) and pinned both sides to the mannequin I was really happy with how it was turning out.


In order to get that really Marilyn-esque shape, I chose to add in a reasonably strong, tight, boned corset-like waistband. For this I used some leftover satin from my wedding dress, as well as a scrap of plastic boning and bias tape for boning channels. I had originally thought to include a waist-stay, but ended up not bothering with it.


As for the pattern for the waistband, I thought the easiest option was just to cut down the pattern pieces from my wedding dress, which were already cut down pattern pieces from Butterick B5605. I just measured from under my bust down to my waist and added seam allowance and cut that length from the pattern pieces, shortening slightly at the back.


I used the same fabric for the lining and the outer, with the boning channels sewn to the outer layer. 


Once the bodice pieces and skirt pieces were sewn to the waistband, I put the dress on the mannequin and tied a ribbon around the waist to have a look at the silhoette, and I was pretty pleased.


Strips of georgette then had to be sewn into long tubes, turned right side out and pressed, then cut to length and pinned and hand stitched to the dress, securing the pleats down, with the occasional stitch going right through the underlying corset waistband.


Once I finished the hand sewing I tried it on and took this quick selfie (I think it was around midnight) That waistband pulls me in nicely at the waist, which gives a very Marilyn-esque silhouette


Then the next day I did the hem and she looked like this. I unfortunately didn't pull the ties tight enough around the dress as I was hand sewing, so the end result looks a little puckered, but I can always unpick and fix that at a later date.


I just could not get the fabric to behave enough to turn the hem up twice, so I had to overlock the edge and just turn it up the once. However, I think that is a detail that only I am really going to ever notice.

I finished the dress on the Wednesday night, before leaving for the cruise on the Friday afternoon, Leaving only the Thursday evening to pack my bag. As I was packing my bag, I decided I needed a protective garment bag for the dress so it wouldn't get dirty or crushed, so I whipped up a quick one out of only slightly more than 1 meter of a lovely floral vintage cotton, that I knew wouldn't leech colour onto the dress. I think it only took me less than an hour to sew, and was a great use of a small amount (not enough for a dress) of vintage fabric.


The garment bag ended up being just a bit short for this particular dress, so I won't be storing it in it in my cupboard, but was great for taking it with me on my cruise. Despite carrying it slung over my arm for the train journey and taxi ride to White Bay on a hot sweaty day, the dress inside was still perfectly wrinkle free when I took it out to wear later that night. This is probably mostly due to my fabric selection. I have since gently machine washed it at home, and the georgette was still wrinkle free and crisply pleated when I took it out from the washing machine and hung it up to dry. The same could not be said for the cheap satin lining of the bust pieces, but you can't see that anyway.


The Vintage floral fabric looks much nicer hanging over my arm than some ugly plastic garment bag. I may have to write up a tutorial to make garment bags sometime in the future.

I was hoping to have some decent photos of me wearing the White Dress before posting this, however it has already turned into quite a long post, so when I get them done I will just make a separate post.

Dixie O'Dare